Golem GPU Provider: Installation and Configuration Guide
Ready to earn GLM tokens by sharing your GPU's computing power with the Golem Network? This comprehensive guide provides step-by-step instructions for setting up and configuring a dedicated GPU provider node.
Introduction
The gpu-golem-live project allows you to contribute your GPU resources to the Golem Network. These powerful resources will enable demanding tasks such as artificial intelligence (AI) processing, contributing to a decentralized network for advanced computations. As a provider, you will be rewarded with GLM tokens for your contribution.
Prerequisites: Ensuring Your System is Ready
Before starting, check if your hardware meets these requirements:
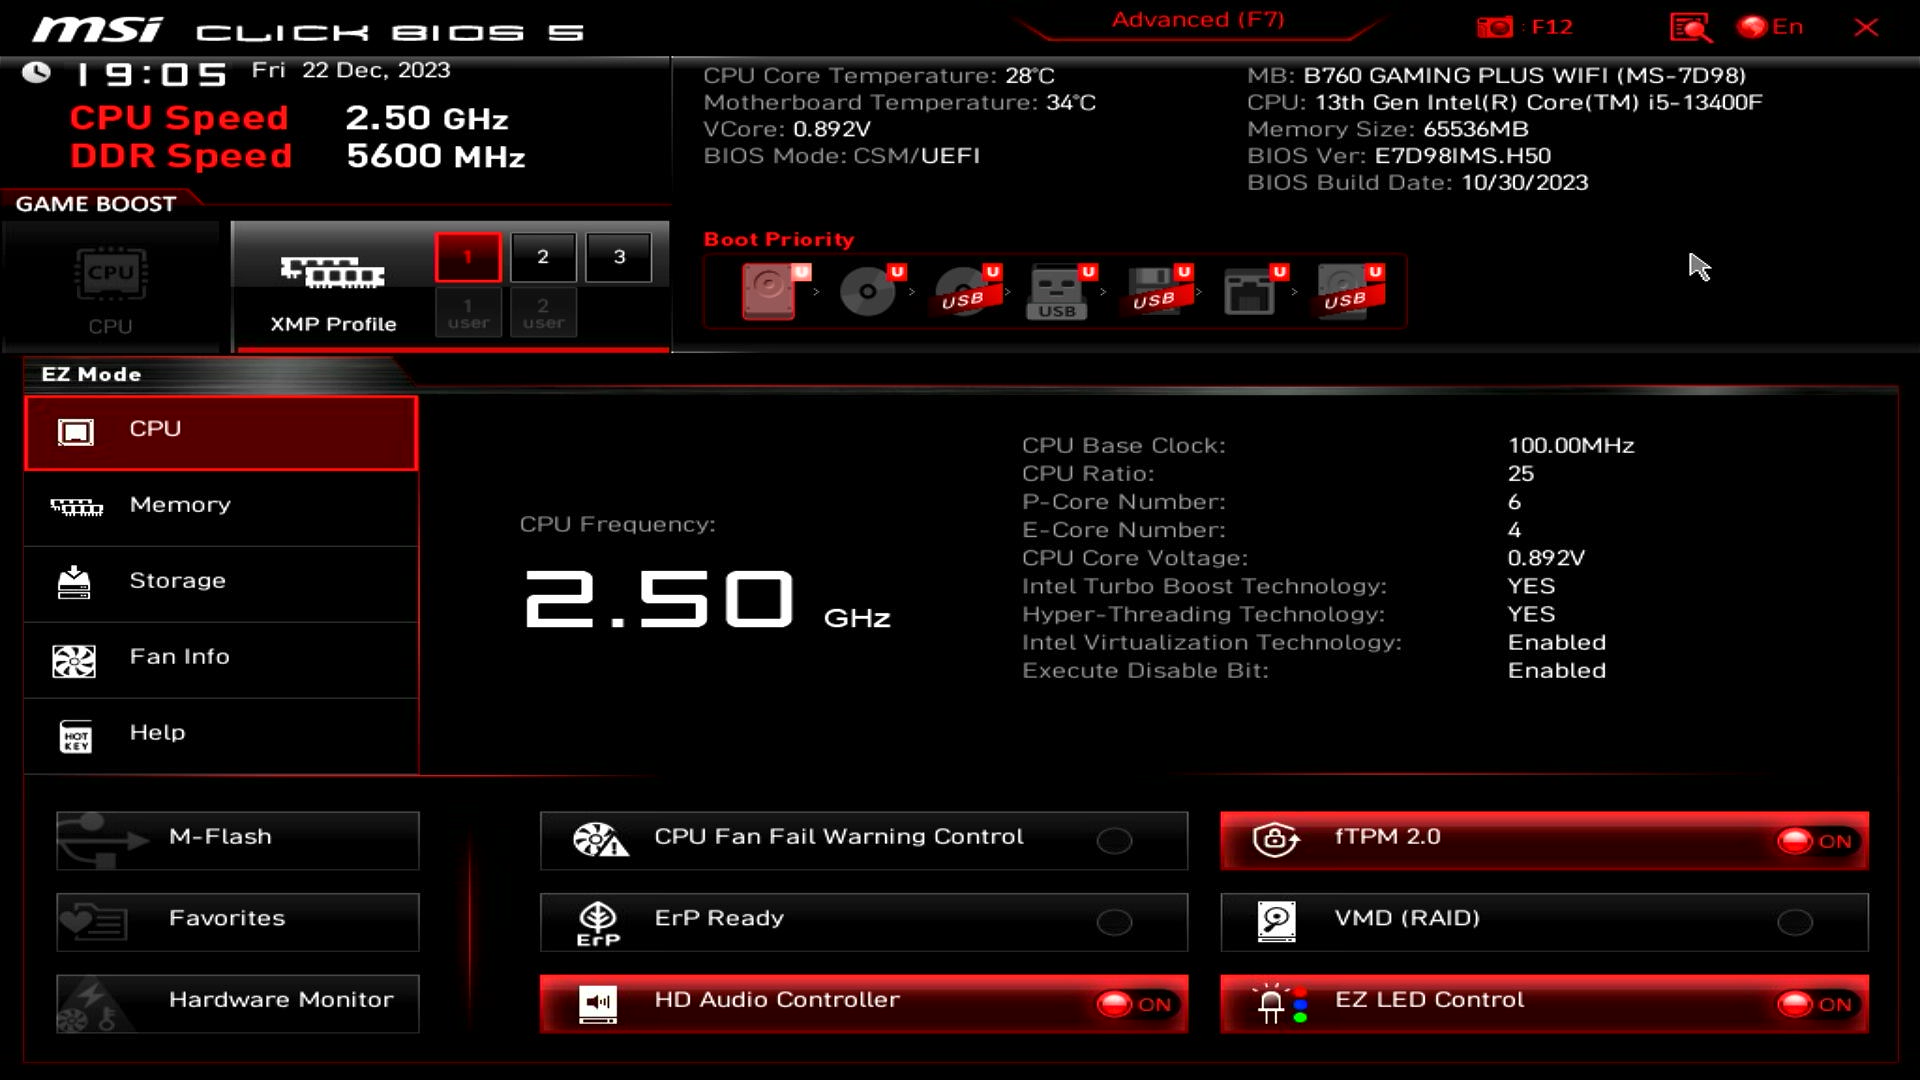
- IOMMU Support: A computer with a motherboard and CPU that supports IOMMU (Input-Output Memory Management Unit) virtualization.
- Nvidia GPU: An Nvidia graphics card, at least a 30xx series, with 8 GB or more VRAM.
- RAM: At least the same amount of RAM as your GPU's VRAM, with double the amount recommended.
- SSD: An SSD with a minimum capacity of 64 GB, connected via a fast USB interface (USB 3.2 recommended). A high-speed USB flash drive can work but is not recommended.
- Network: A stable internet connection with a minimum speed of 100 Mbps (both upload and download), preferably via an RJ45 Ethernet cable.
- Ethereum Wallet: An Ethereum wallet to receive your GLM earnings.
- BIOS Settings: Enable VT-d (for Intel CPUs) or SVM (for AMD CPUs) in your computer's BIOS settings.
⚠️ Important Considerations:
- Network Optimization: For better peer-to-peer connections, consider opening UDP port 11500 on your router.
- GPU Detection Issues: If you've enabled virtualization in BIOS but the setup doesn't detect your GPU, try moving it to a different PCIe slot.
- GPU Usage: Your GPU might not be in use all the time. It will be active when tasks are assigned.
Setting up your Golem GPU Provider
1. Download and Extract the Image
- Download the
gpu-golem-liveprovider image: Download image
https://gpu-live.cdn.golem.network/images/golem-gpu-live-latest.img.xzYou can also download it using wget:
wget https://gpu-live.cdn.golem.network/images/golem-gpu-live-latest.img.xzThe file is about 2GB.
- Extract the downloaded
.xzarchive using an archiving tool (7-Zip, The Unarchiver, or your system's default tool) or use these terminal commands:
xz -d golem-gpu-live-latest.img.xzThe uncompressed image file (golem-gpu-live-latest.img) should be around 8.6 GB.
2. Flash the Image to Your SSD
Prepare your SSD
- Connect the SSD: Connect your SSD to your computer.
- Delete Existing Partitions: Delete all existing partitions on the SSD.
Identify the SSD's Path
- Linux: Run
sudo fdisk -lto find your SSD (identified by its size) and its path (e.g.,/dev/sdX). - macOS: Use
diskutil listto locate your SSD and its identifier (e.g.,/dev/diskY).
Flash the Image
Using dd (recommended)
Warning: Double-check the SSD path before using dd, as incorrect usage can cause data loss!
If your extracted image is in your Downloads folder and the SSD is /dev/sdX:
sudo dd if=Downloads/golem-gpu-live-latest.img of=/dev/sdX bs=4M status=progress- Replace
/dev/sdXwith the actual path. bs=4Mis for faster transfer.status=progressshows the flashing progress.
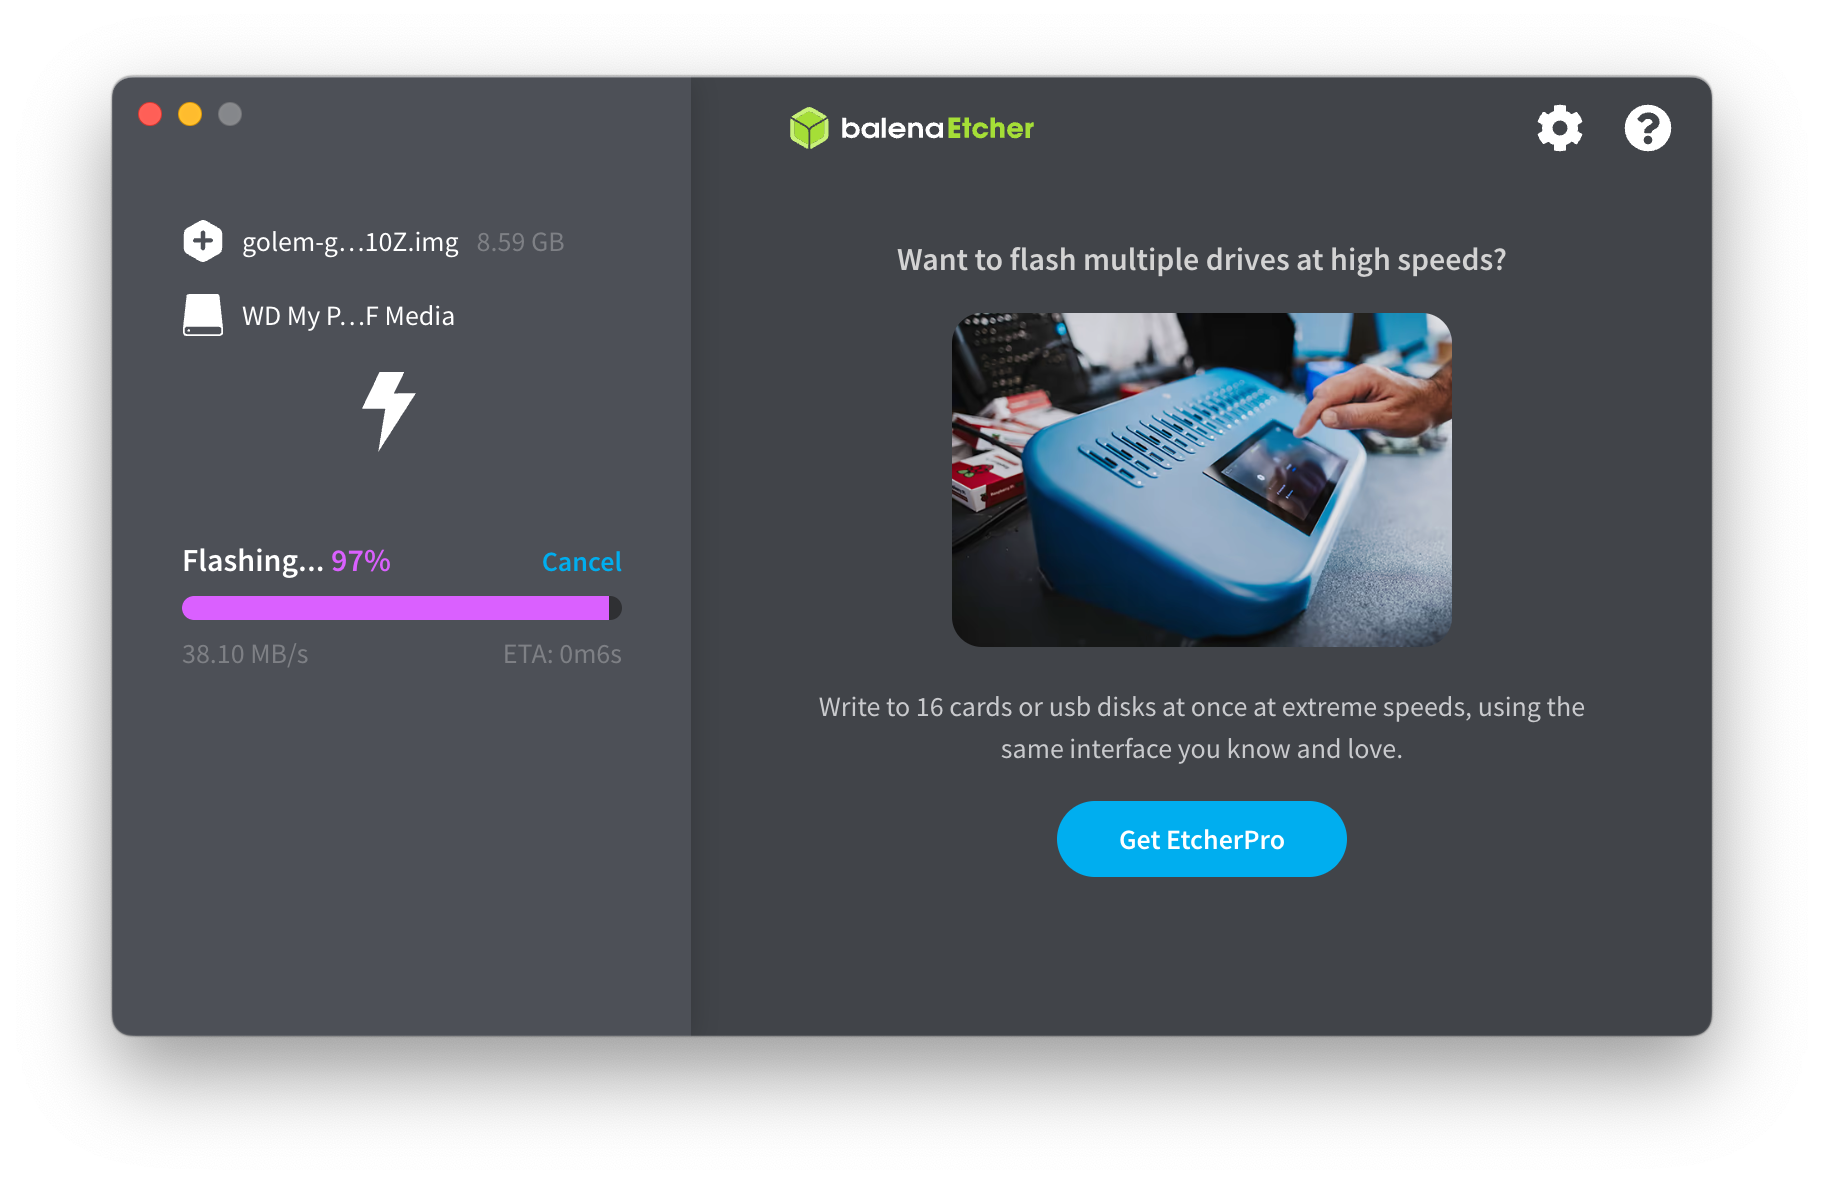
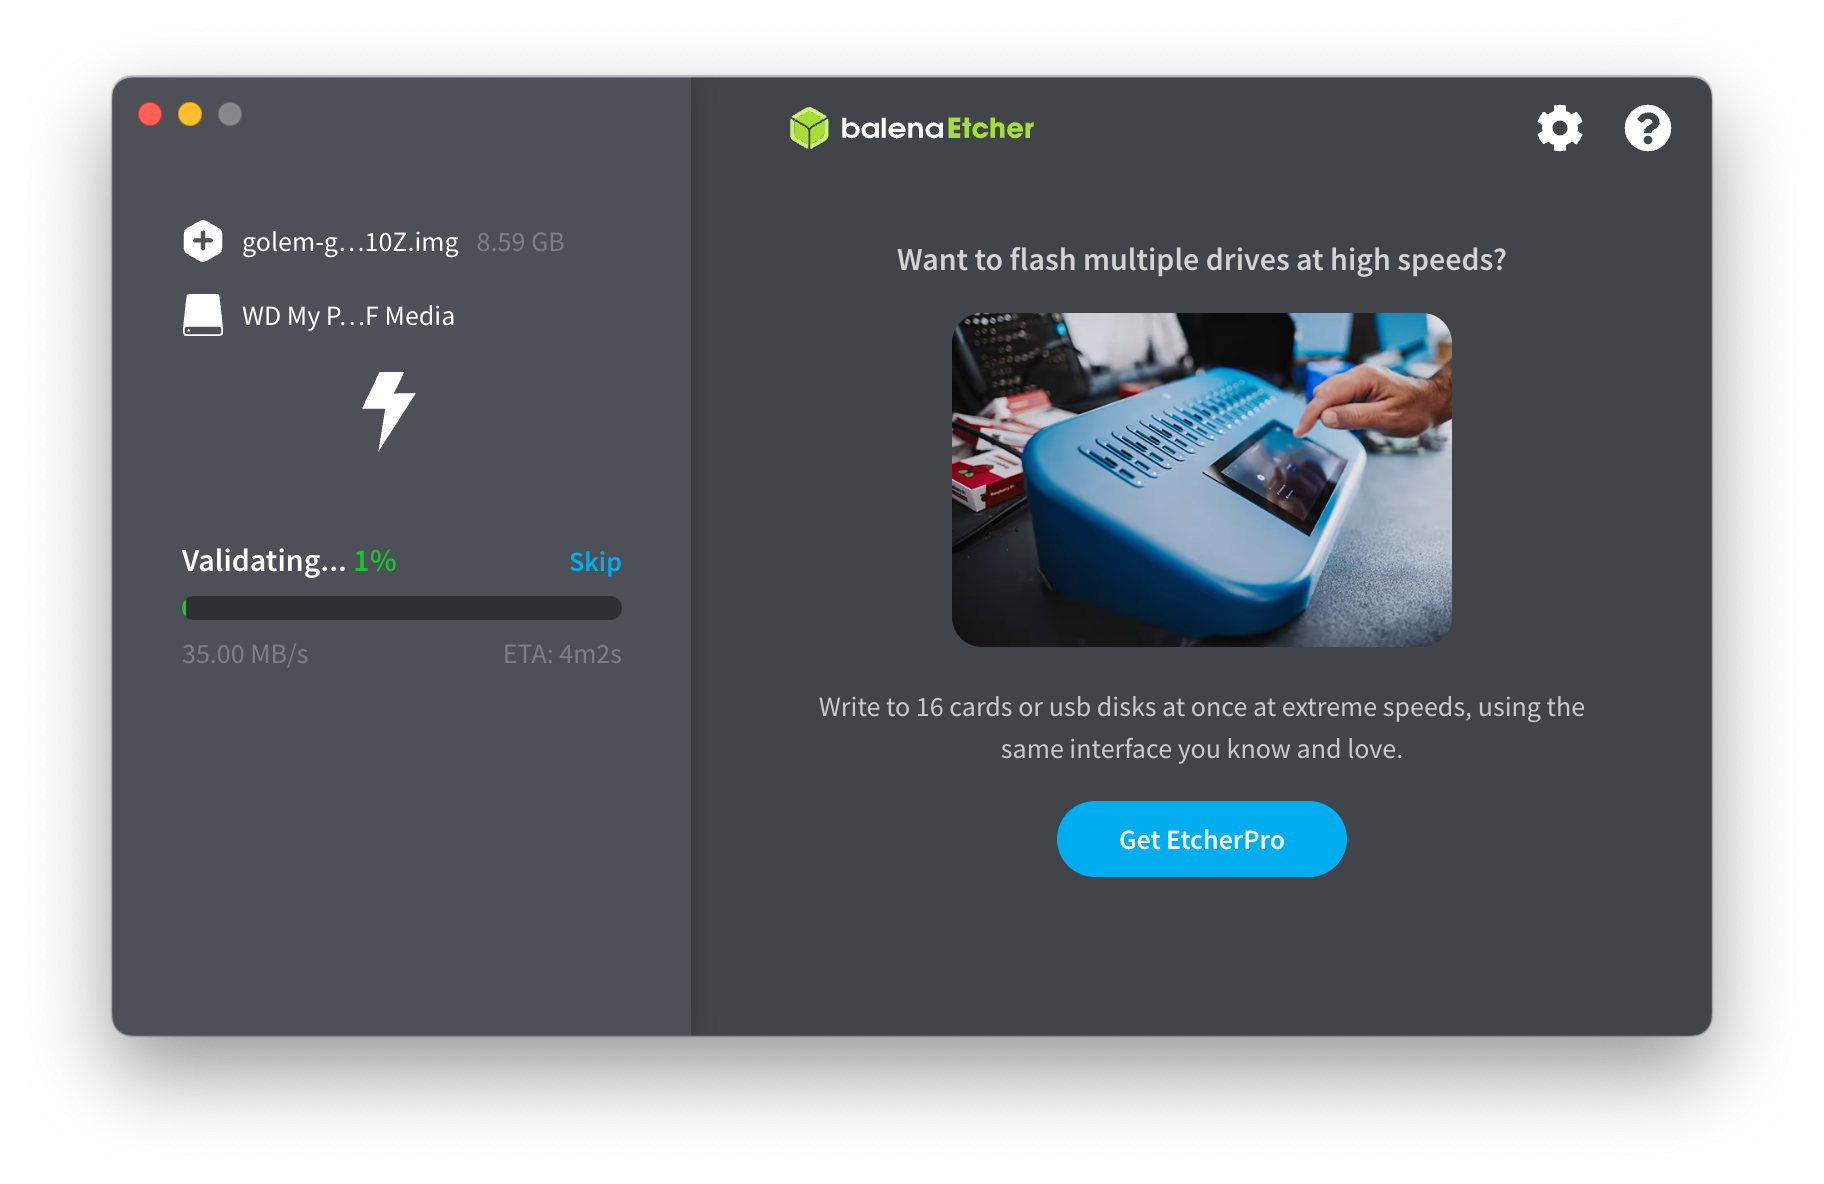
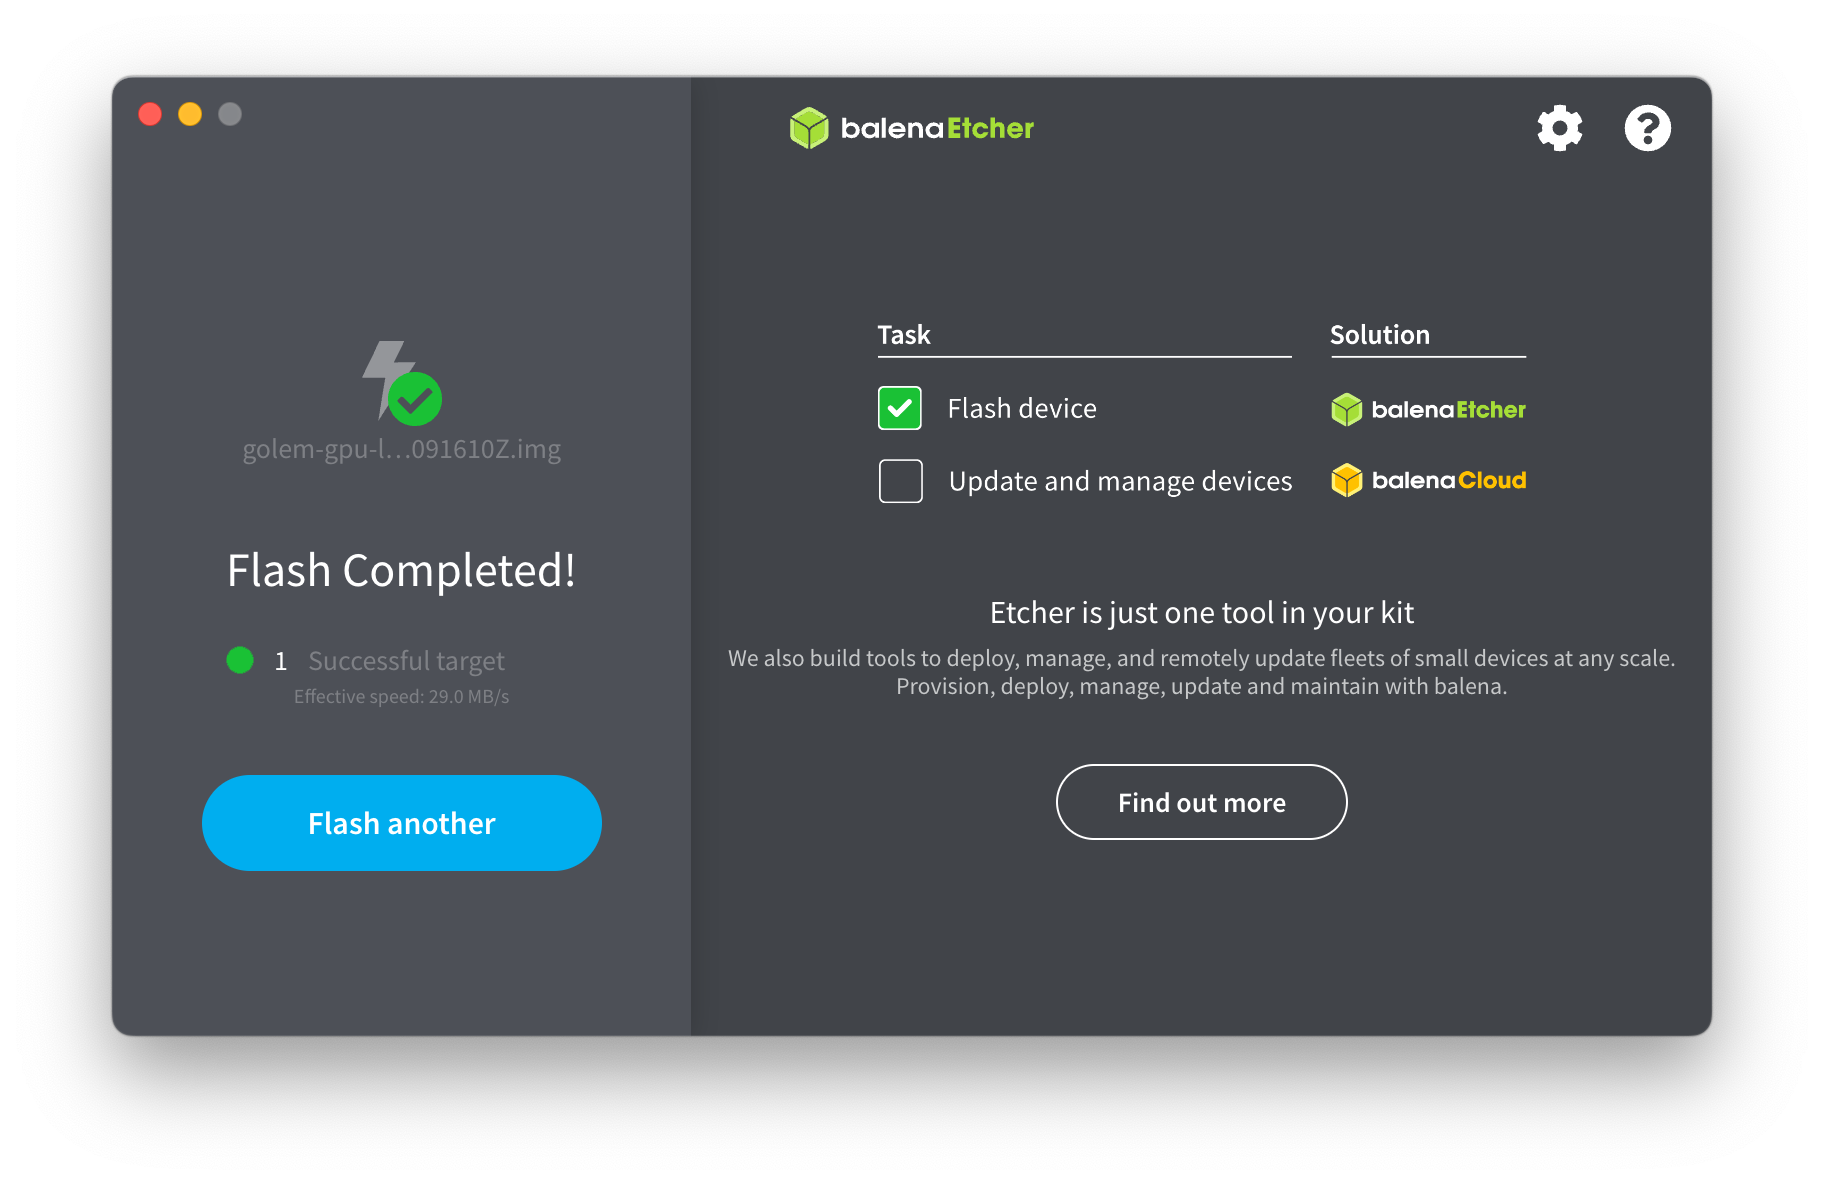
Using balenaEtcher (alternative)
Select Image: In balenaEtcher, click "Flash from file" and choose
golem-gpu-live-latest.img.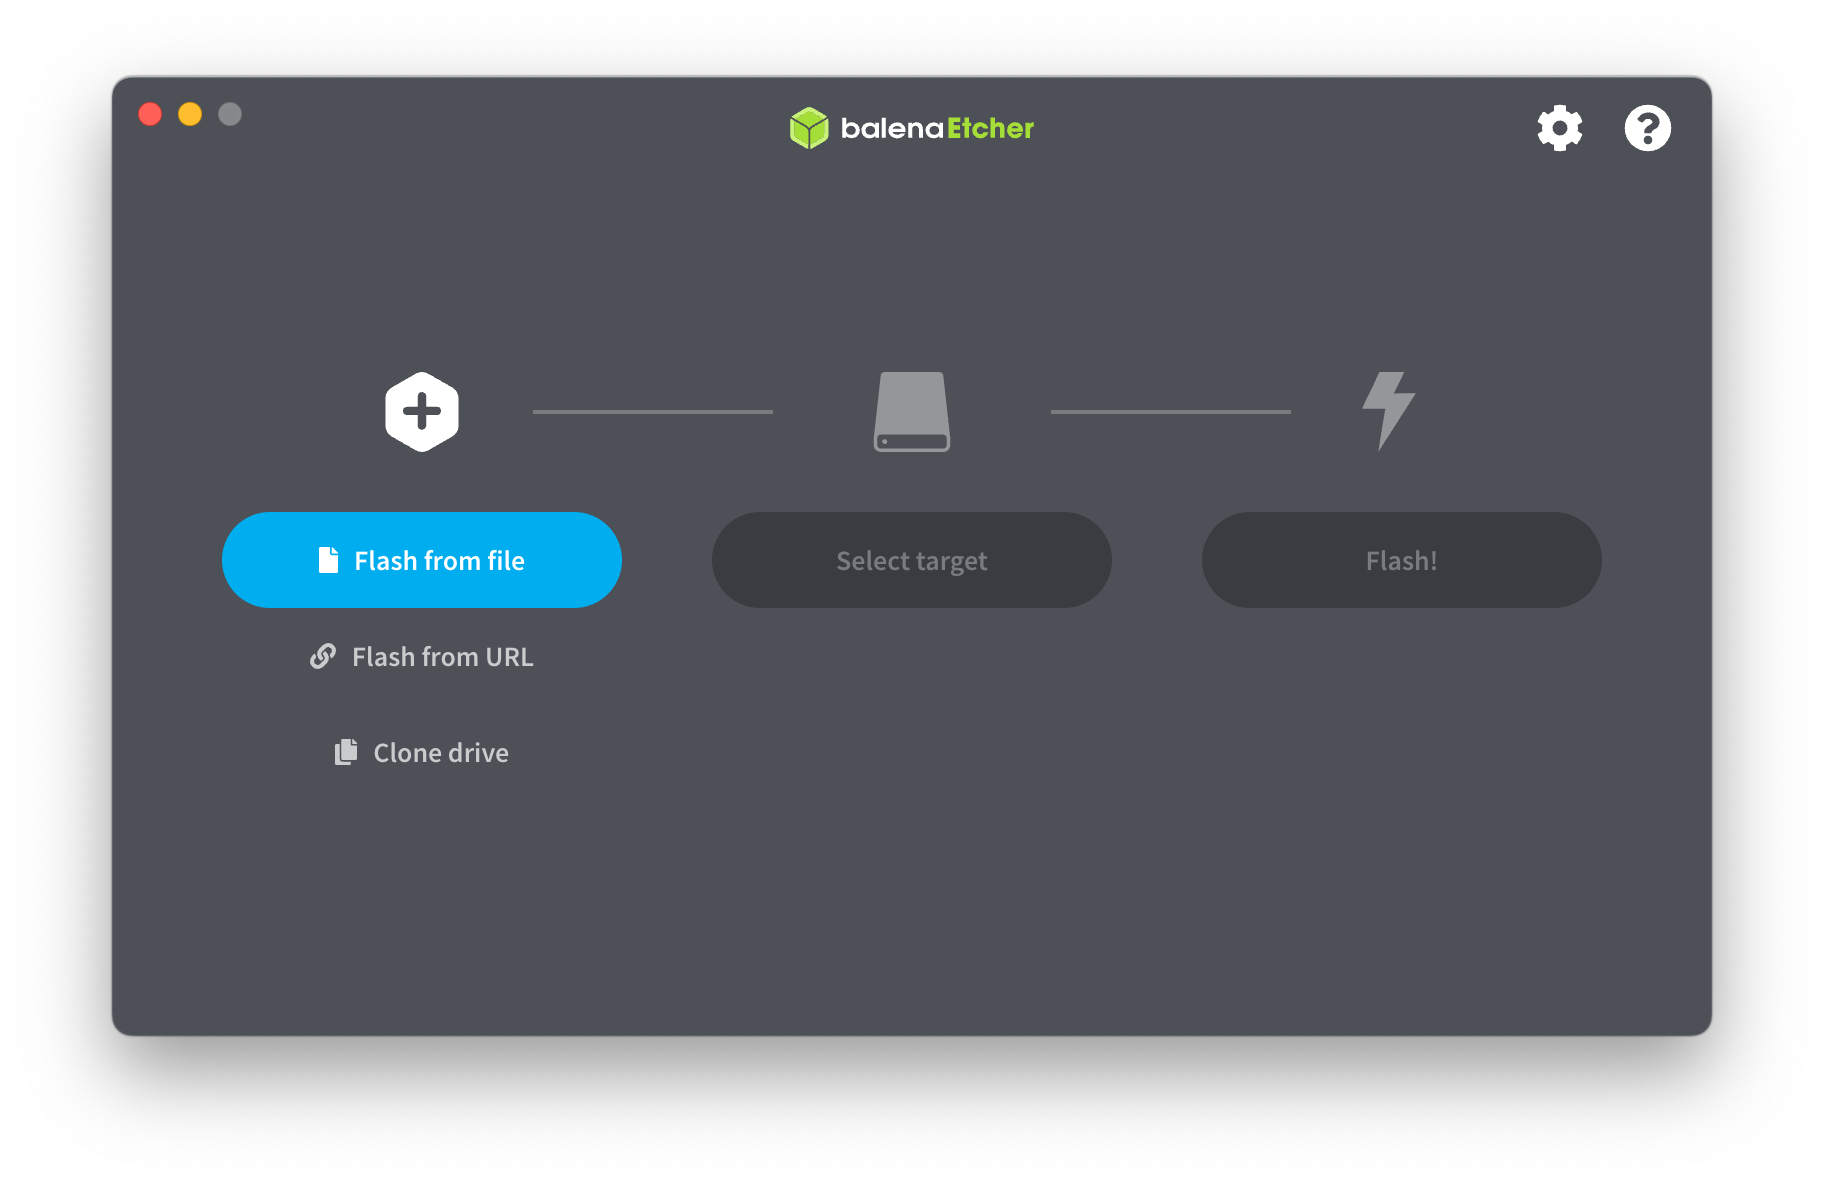
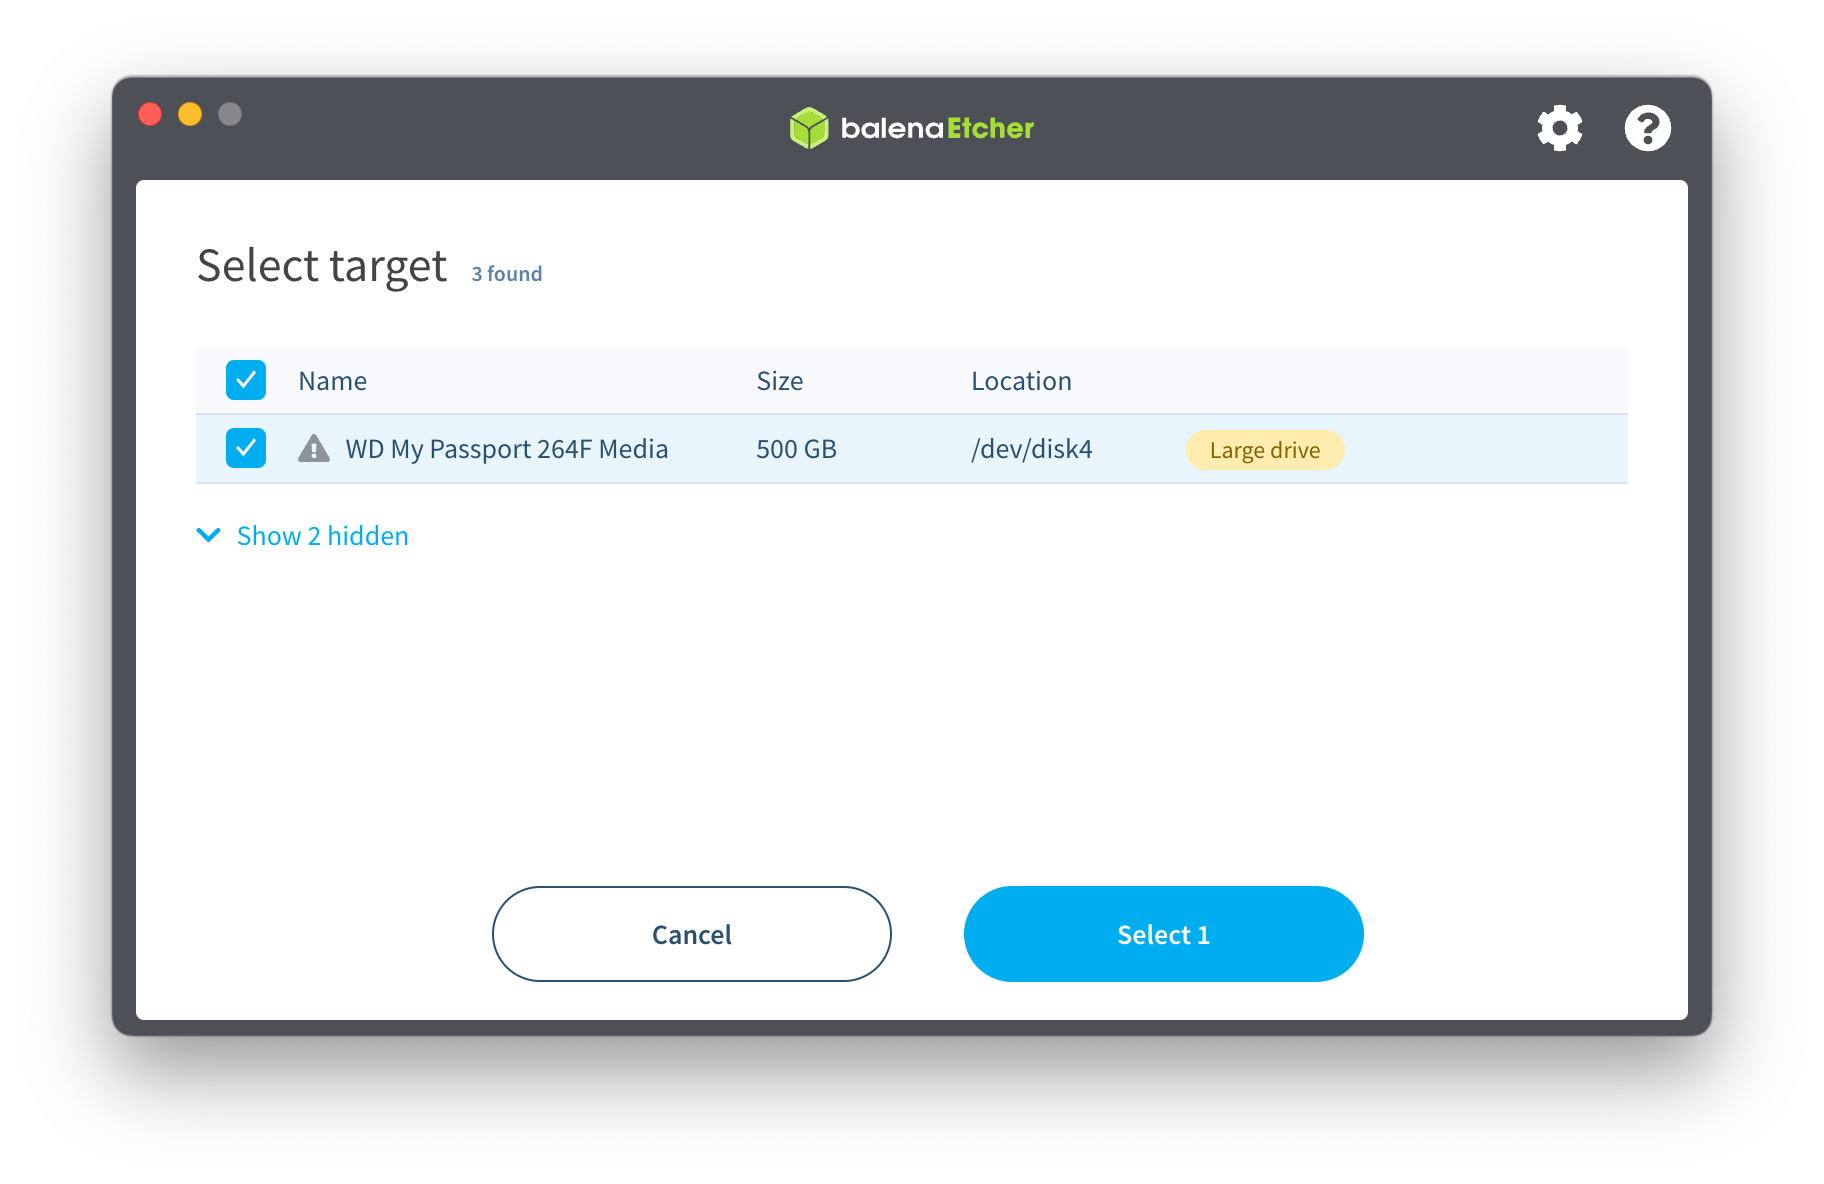
Select Target: Click "Select target" and choose your SSD. Double-check you've chosen the right drive!

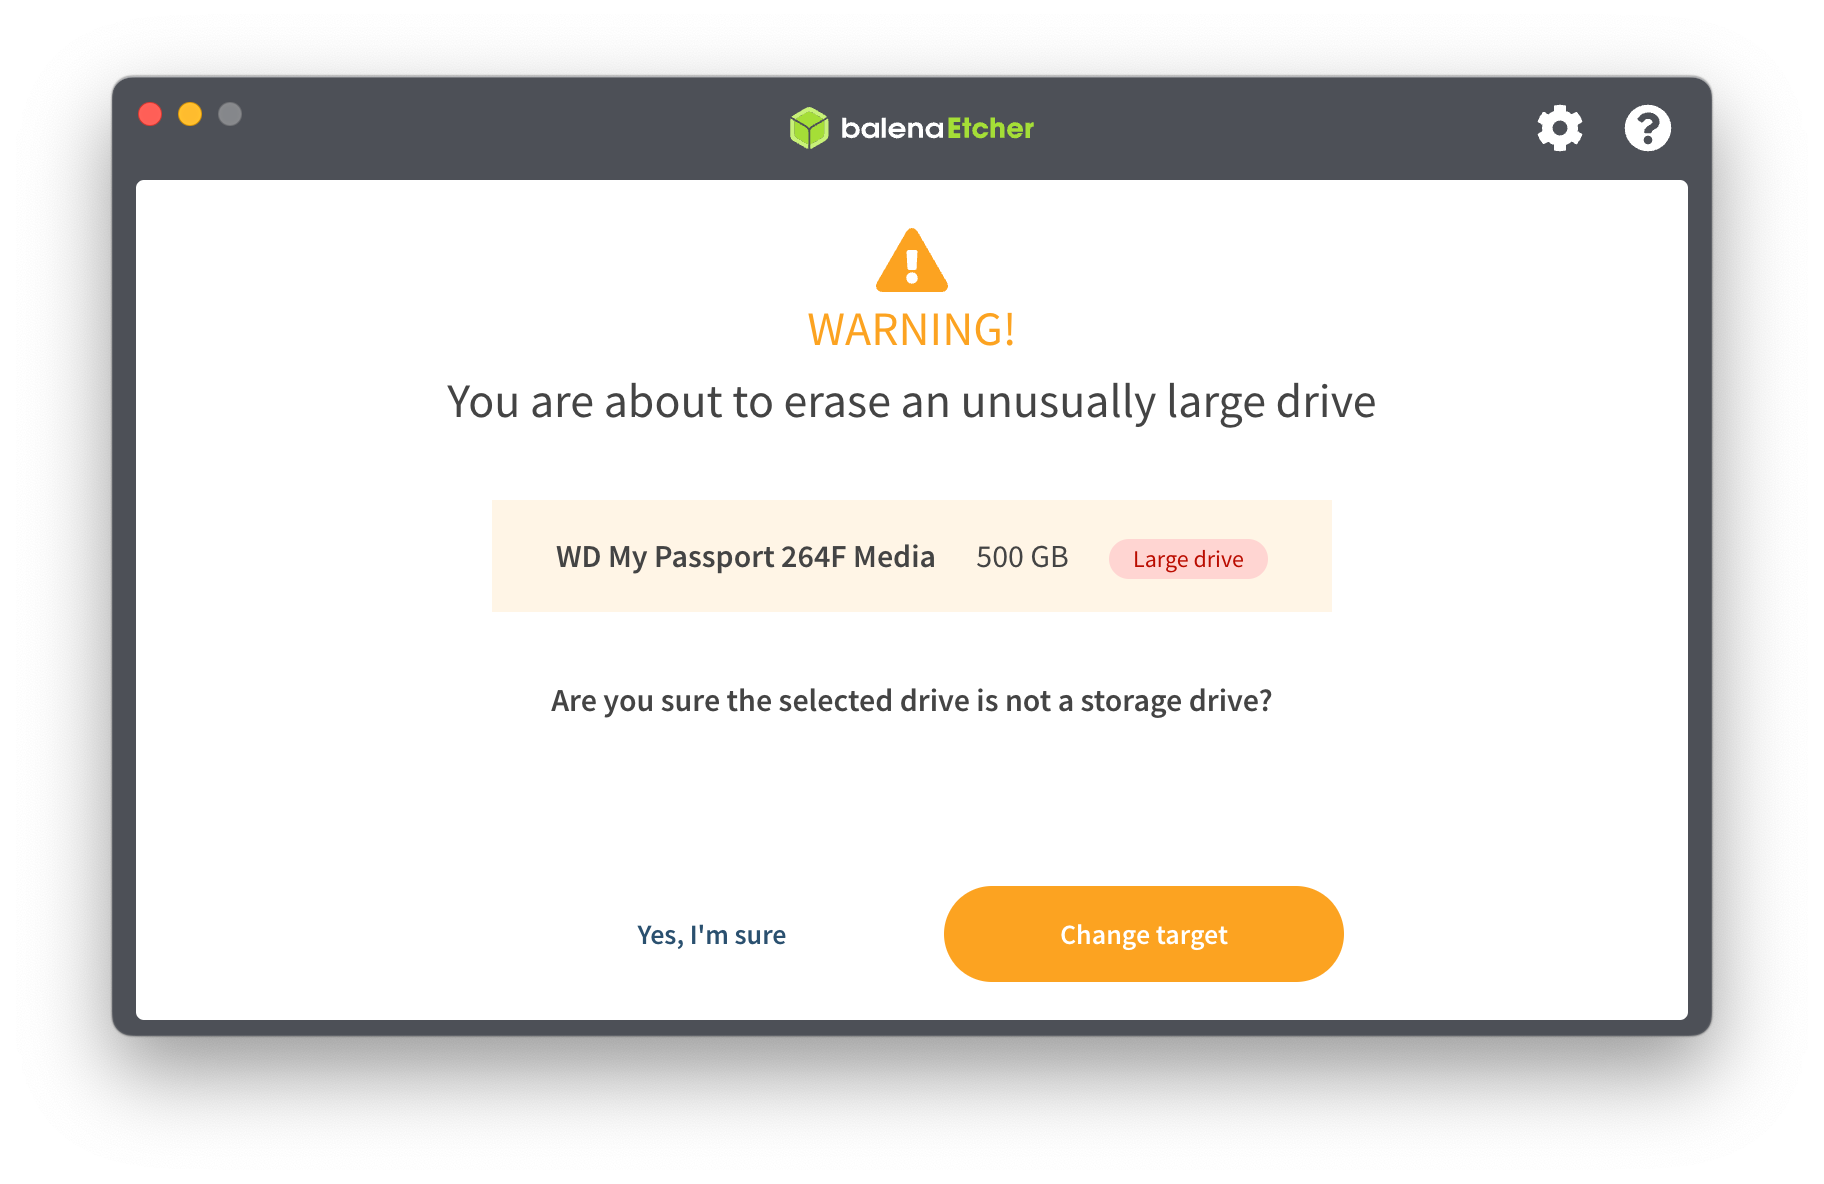
Flash: Click "Flash!" to begin. Confirm with "Yes, I'm sure" if prompted.
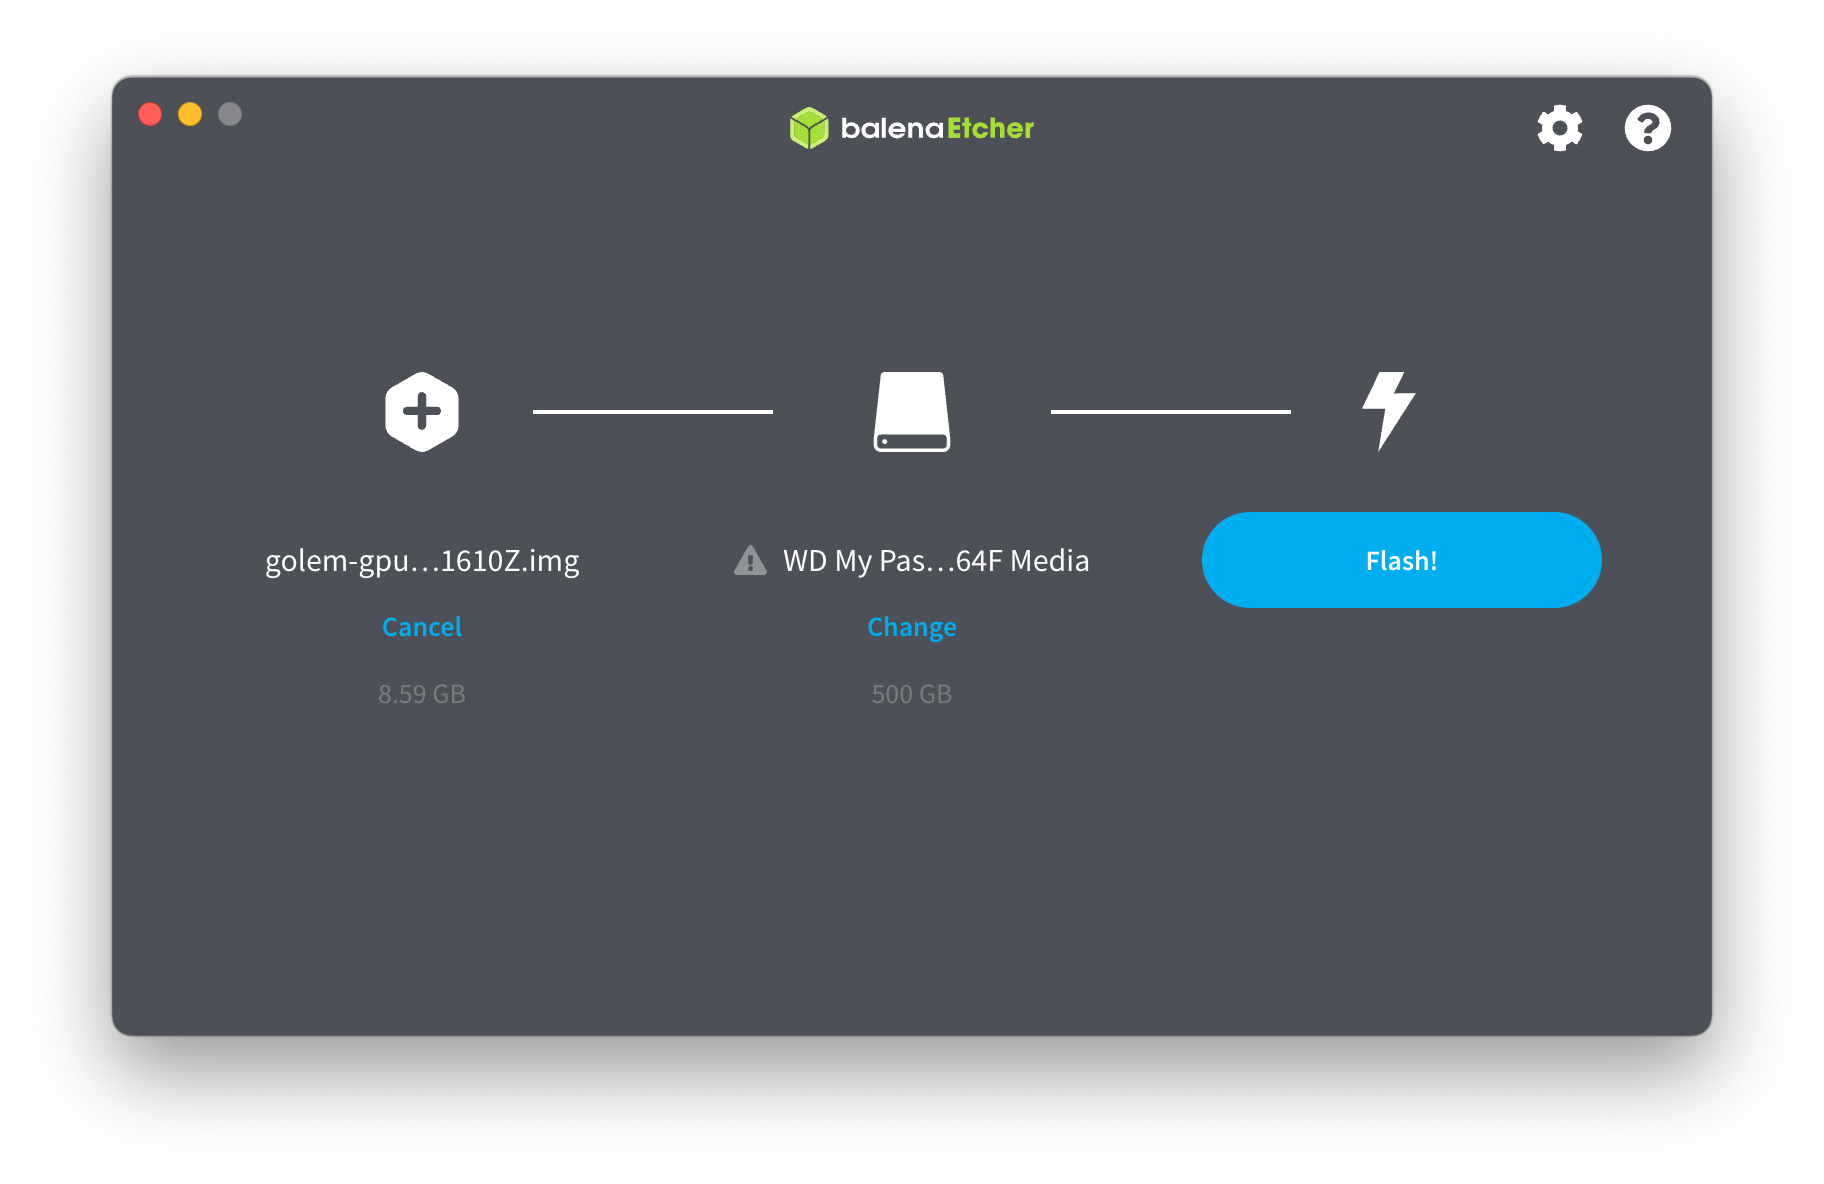
Progress: balenaEtcher will show a progress bar. This can take 5-10 minutes.


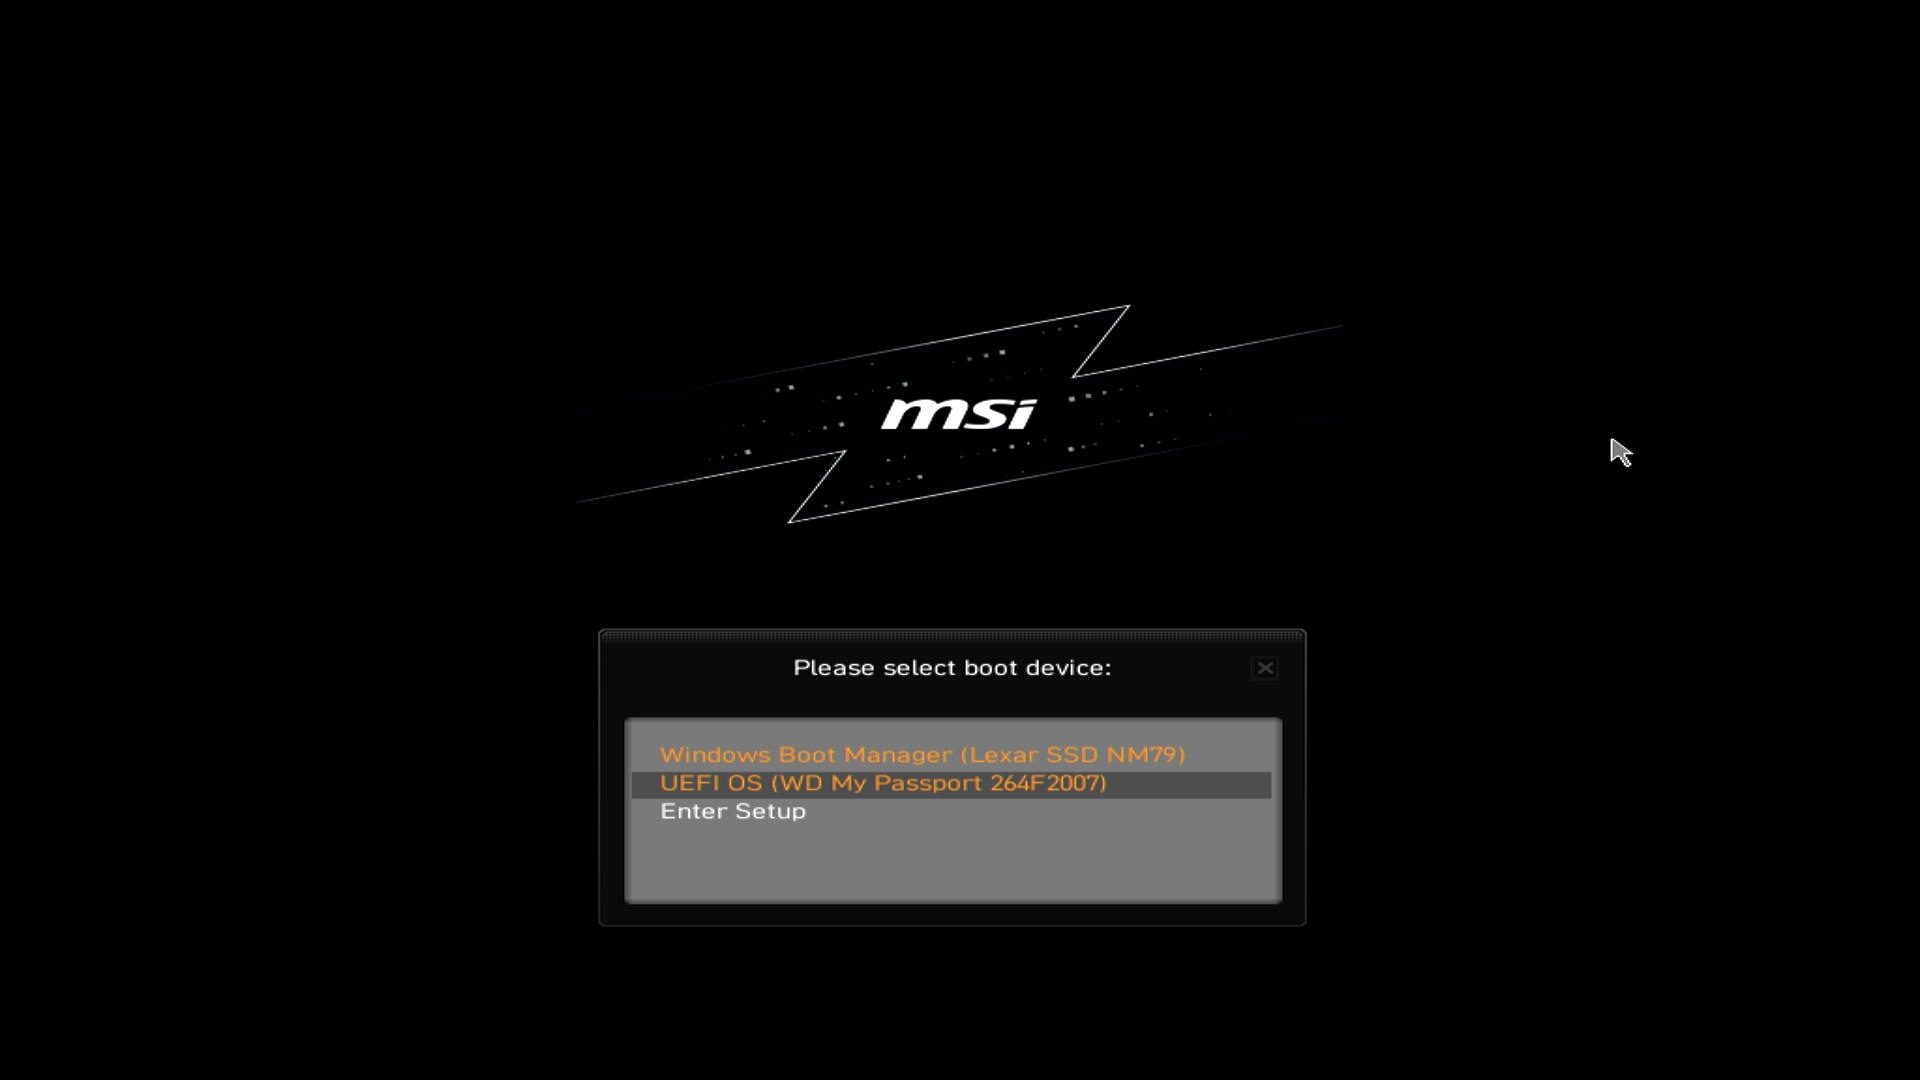
3. Boot from the SSD
- Connect the SSD: Make sure the SSD is connected to your computer.
- Reboot: Restart your computer.
- Boot Menu: Enter your BIOS/UEFI boot menu (usually
F12,F2,Esc, orDel). - Select SSD: Select the SSD with
gpu-golem-live. Make sure to choose UEFI OS mode.
Setting the SSD as the Default Boot Device (Optional)
To always boot from the SSD when connected:
- Access BIOS: Enter BIOS settings during startup (key varies by motherboard, look for
F2,Del,Esc). - Boot Order: Find the "Boot" or "Boot Order" section.
- Prioritize SSD: Make the SSD the first boot option.
- Save and Exit: Save your changes and exit BIOS.
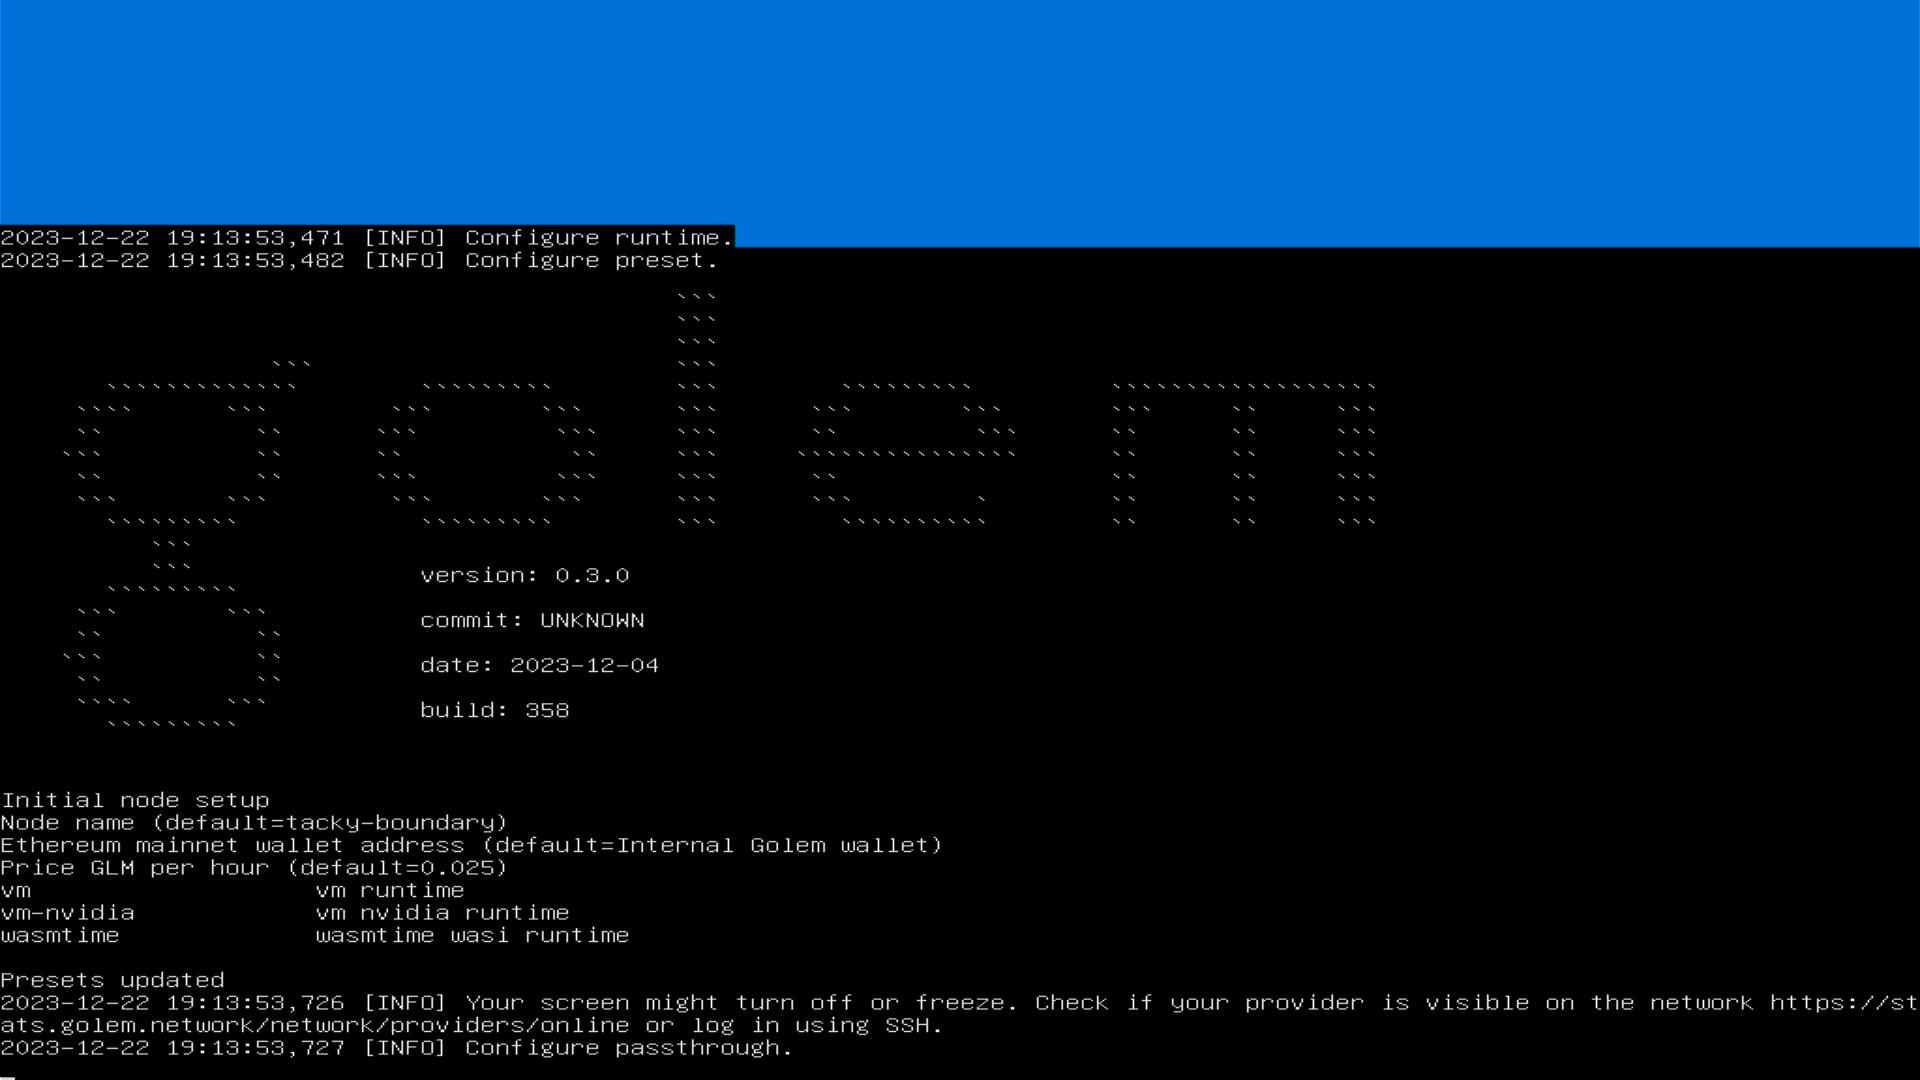
4. Configure the GPU Provider
- Select OS: Press
Enterto choose GOLEM GPU Live.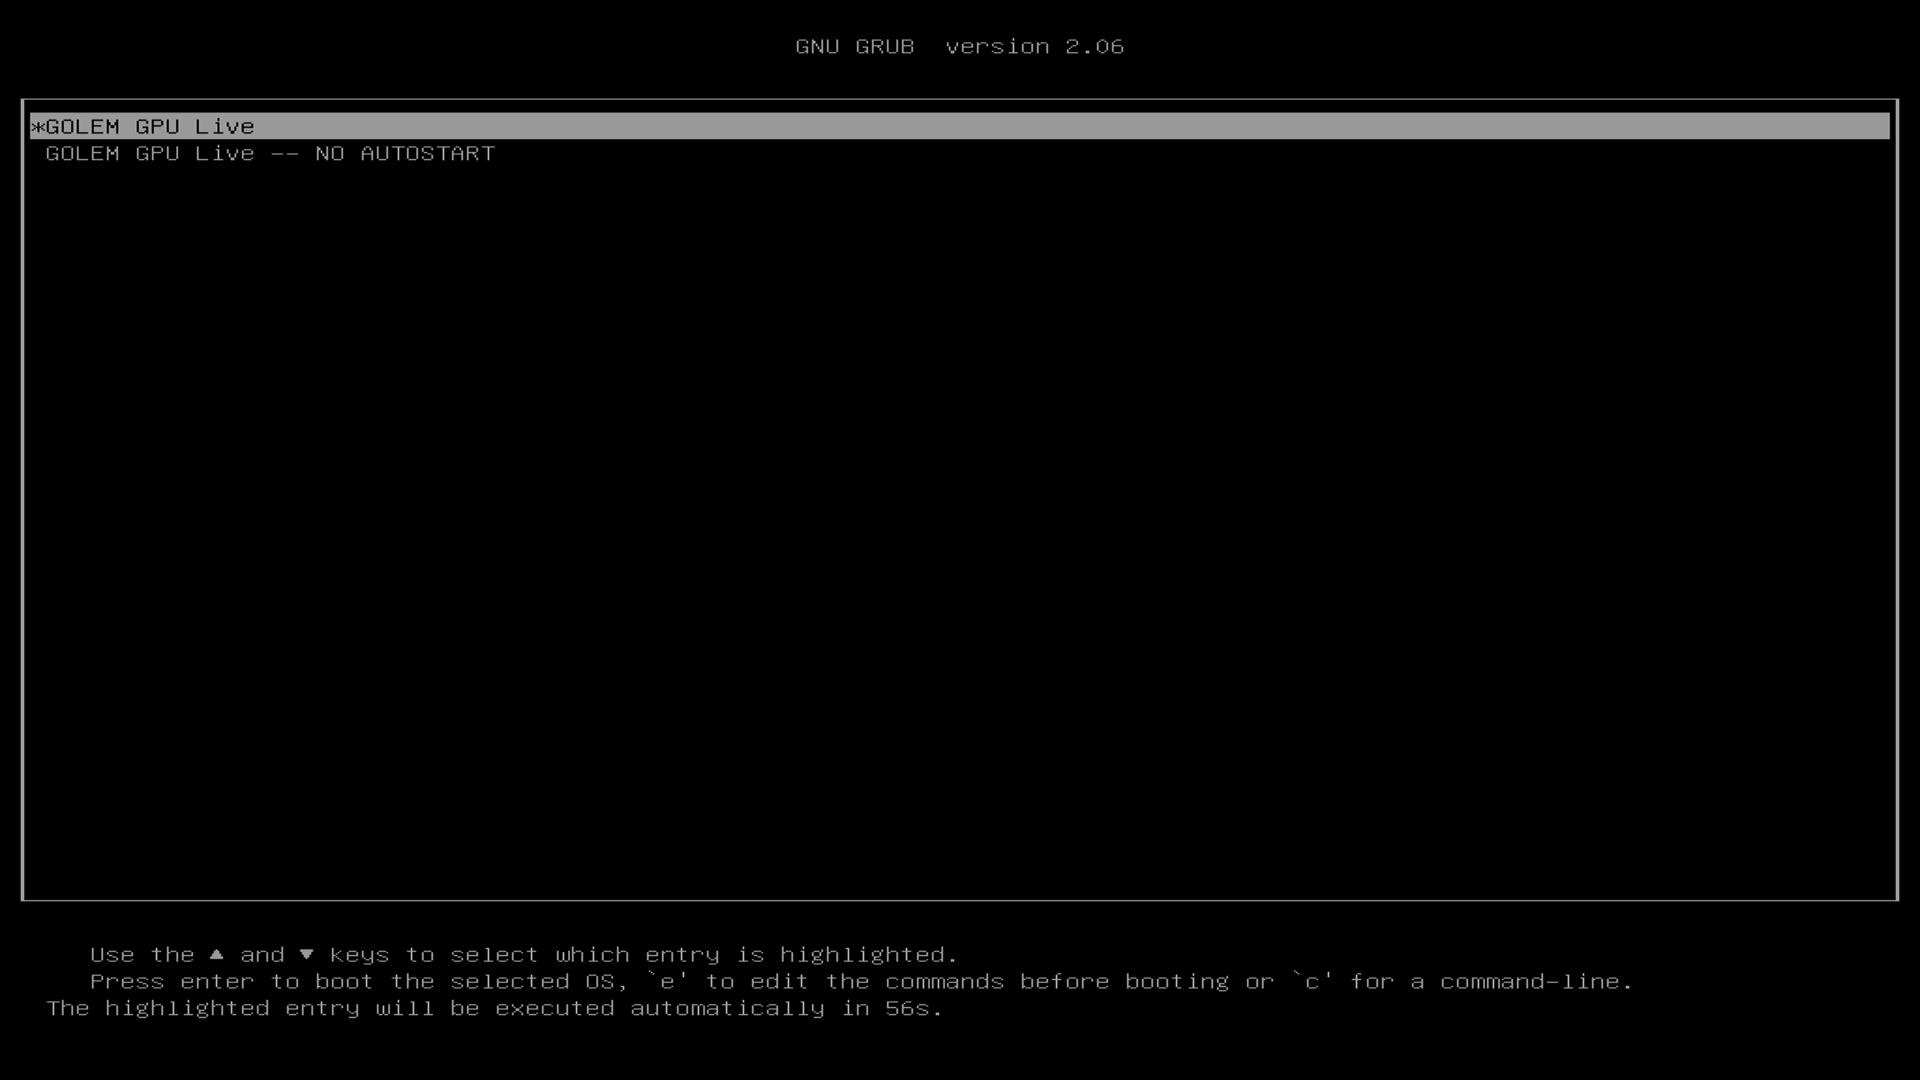
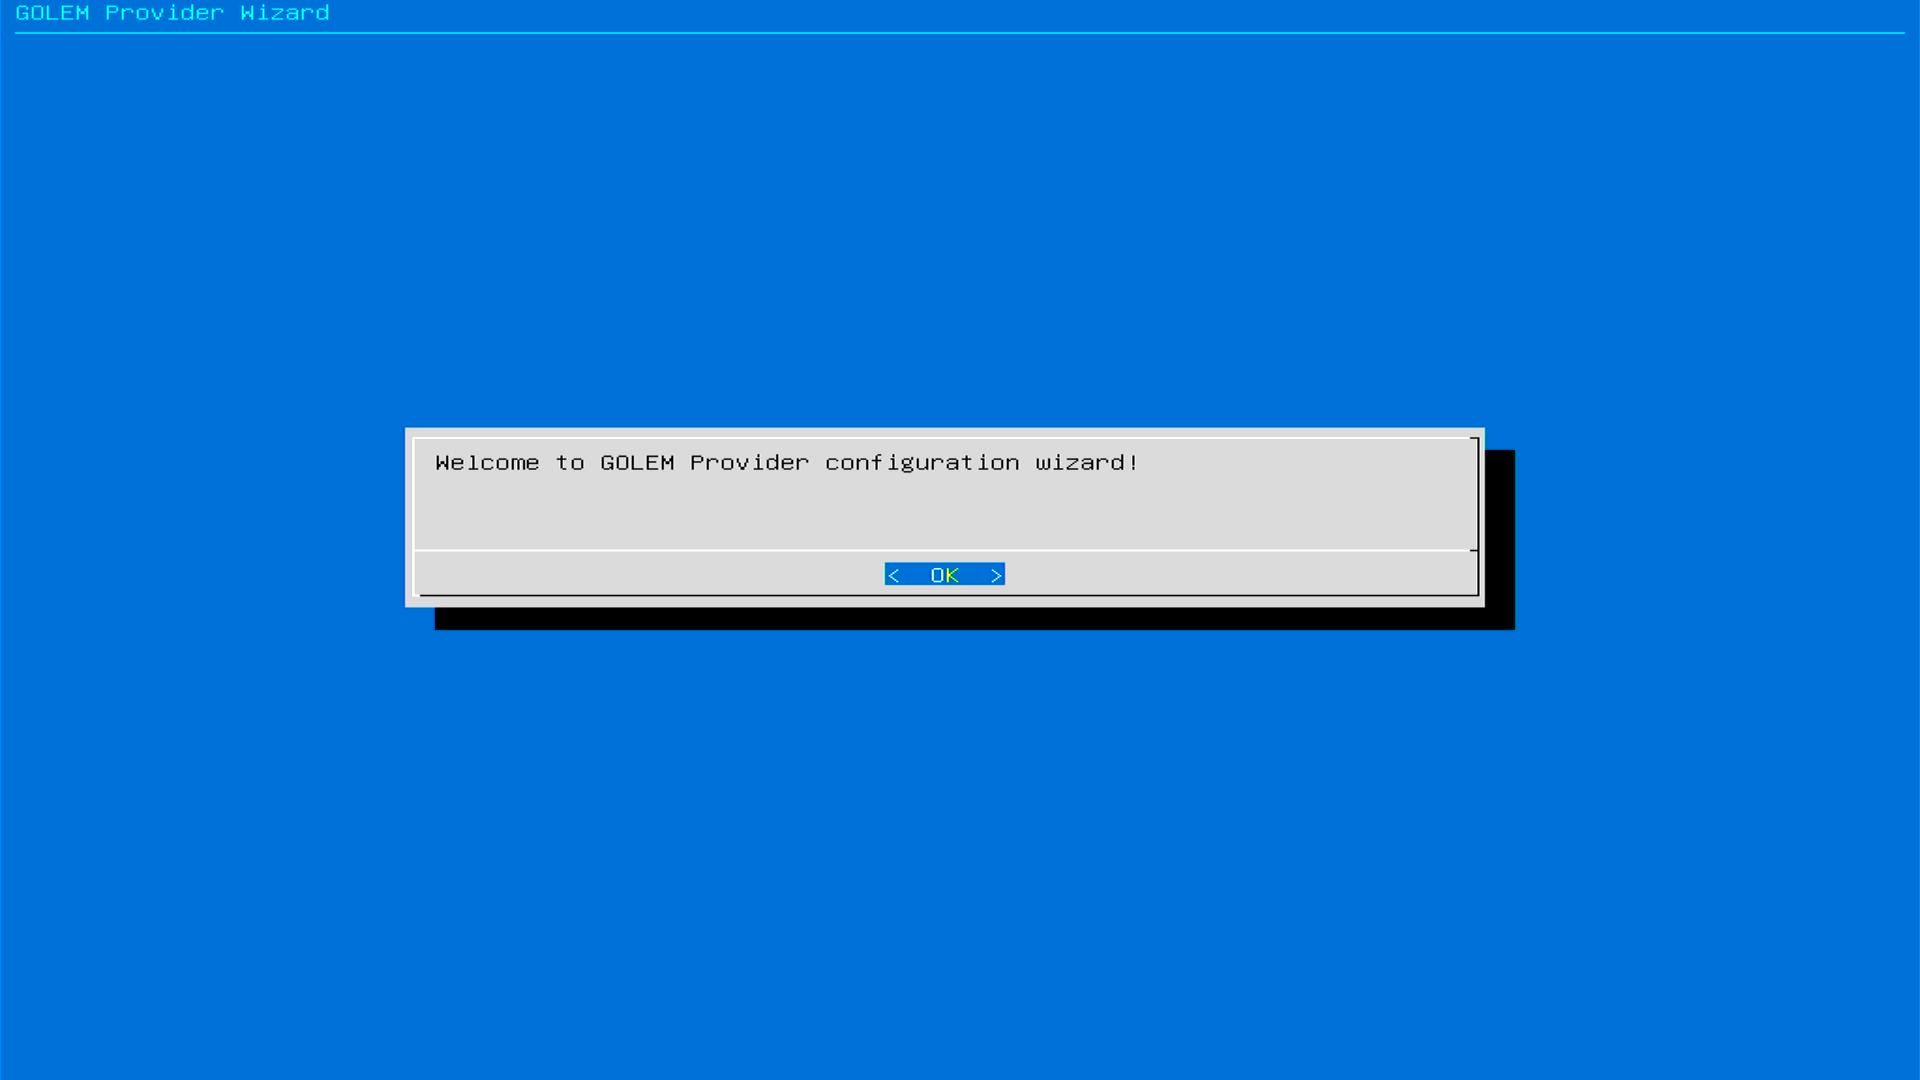
- Welcome: Click "OK."
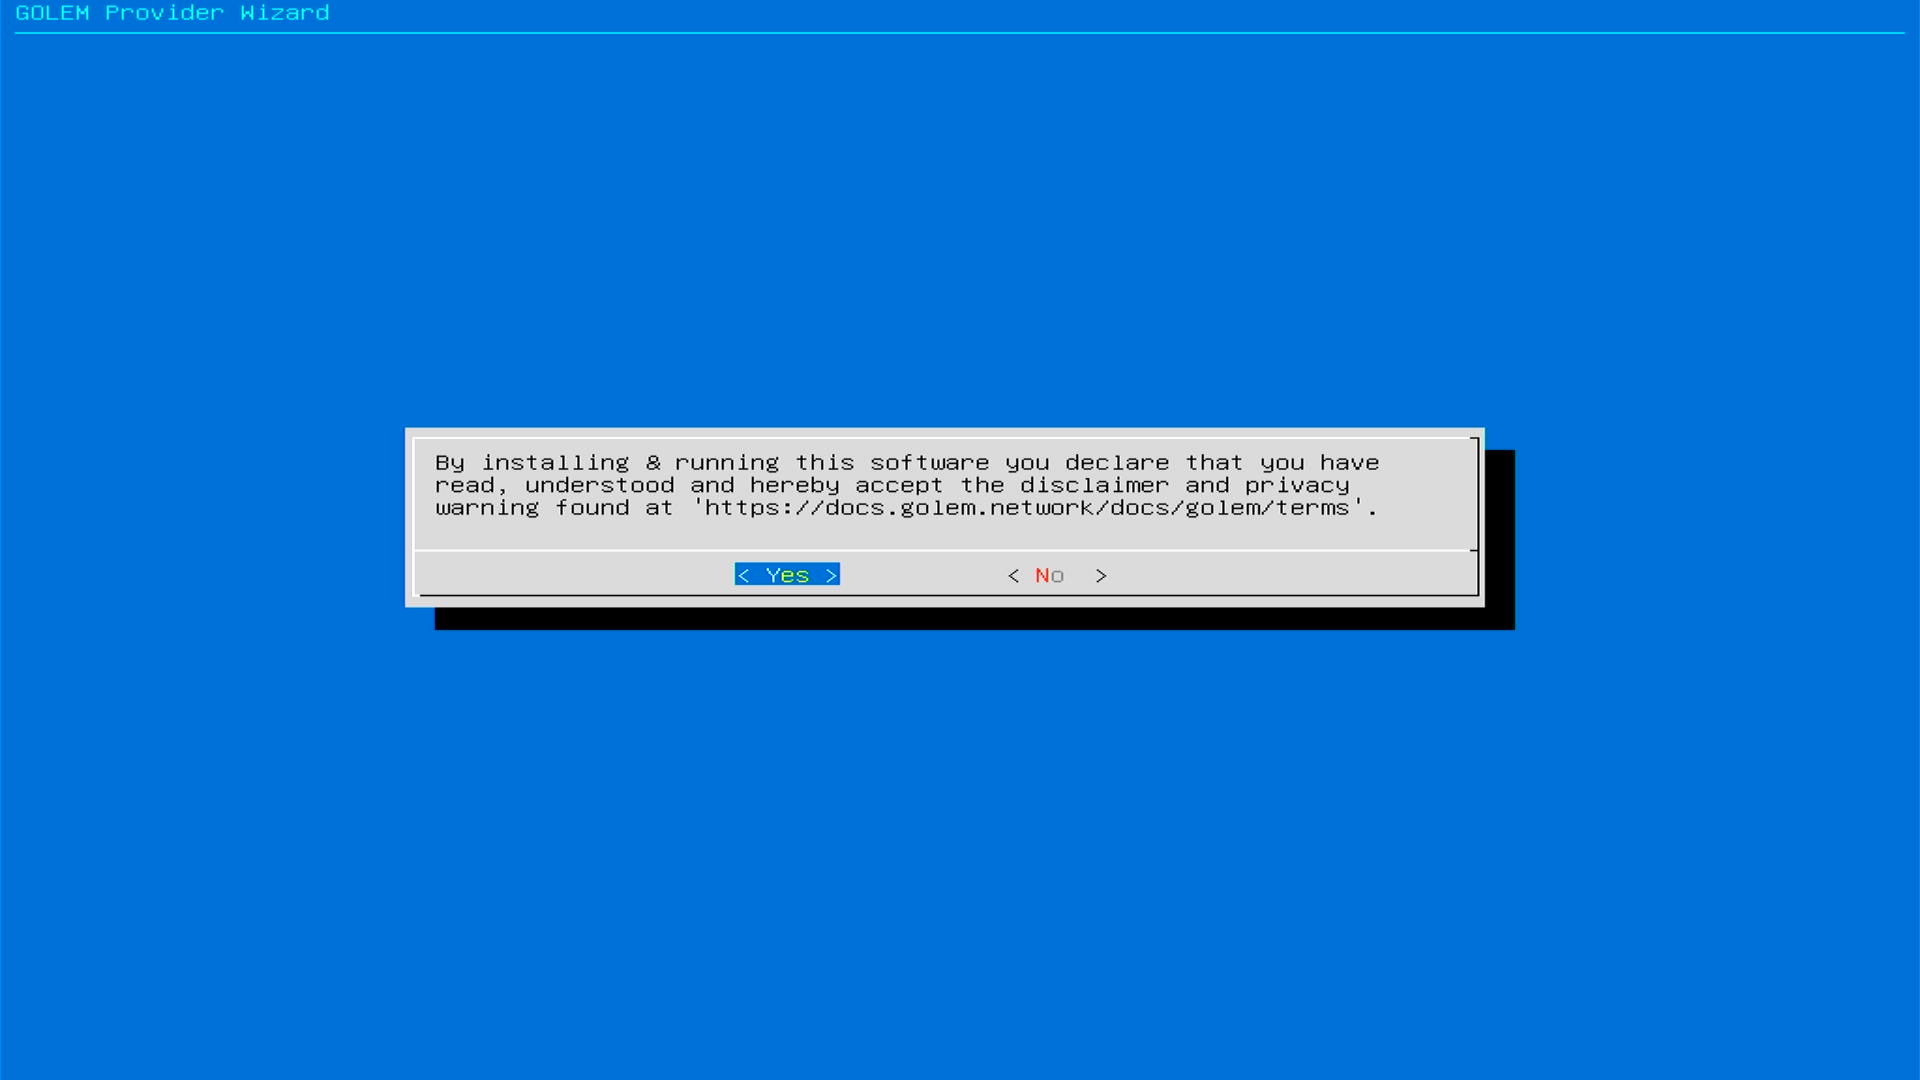
- Terms of Use: Read and accept by selecting "YES".
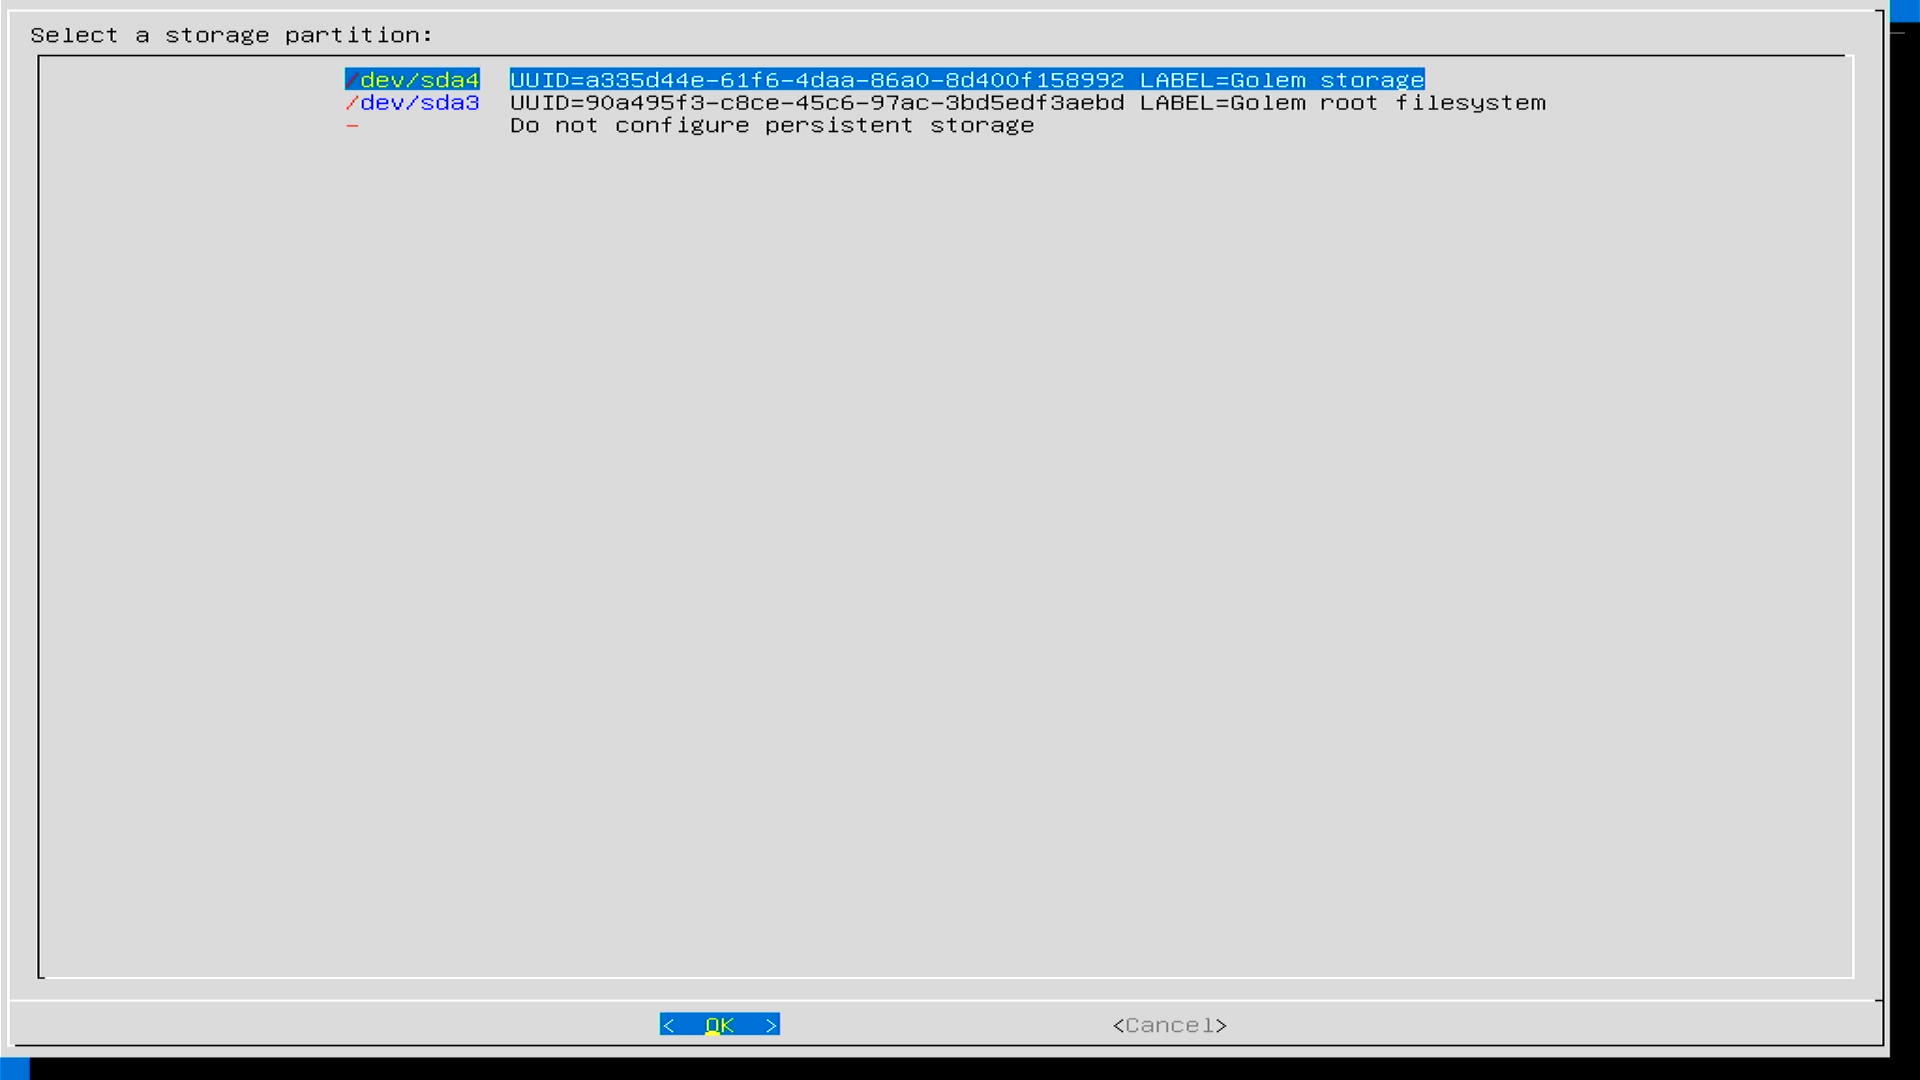
- Persistent Storage: Select a partition on your SSD for storing provider data.
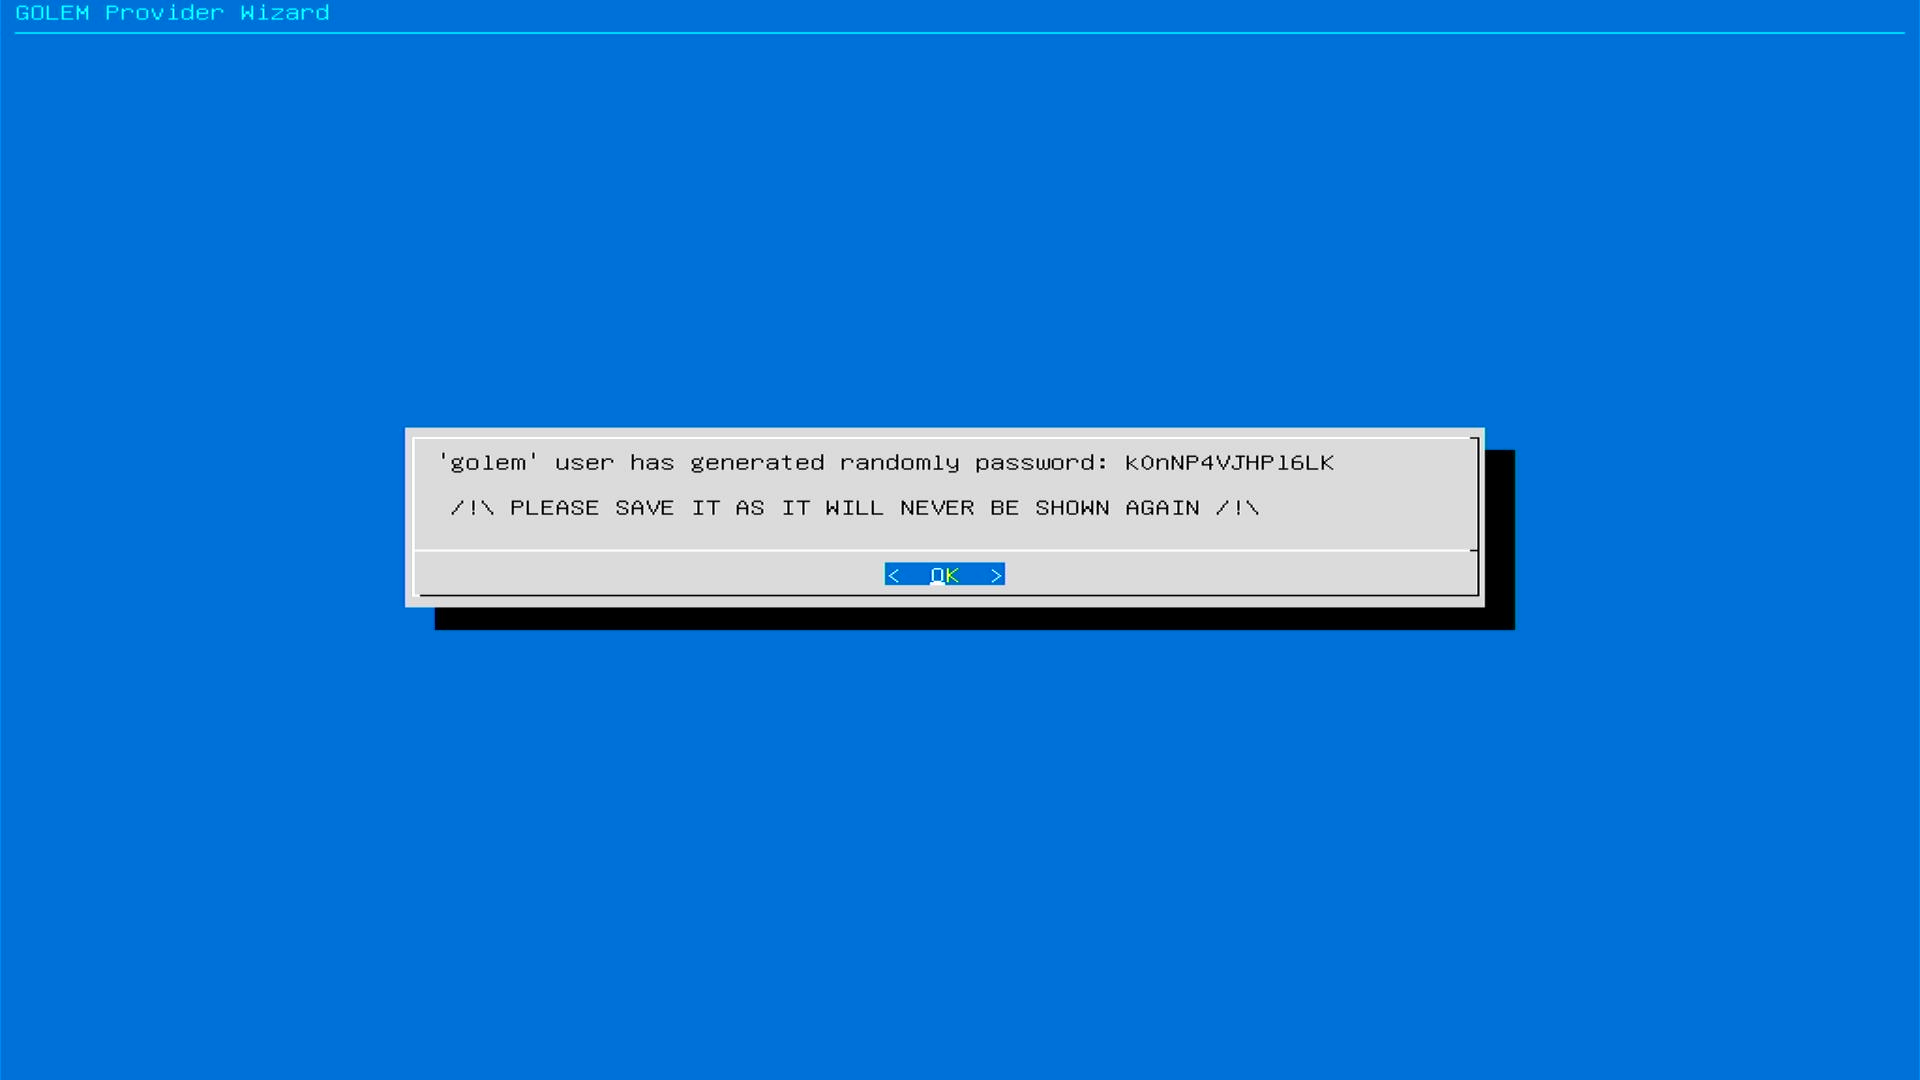
- Password: A random password will be generated. Write it down securely for future SSH access.
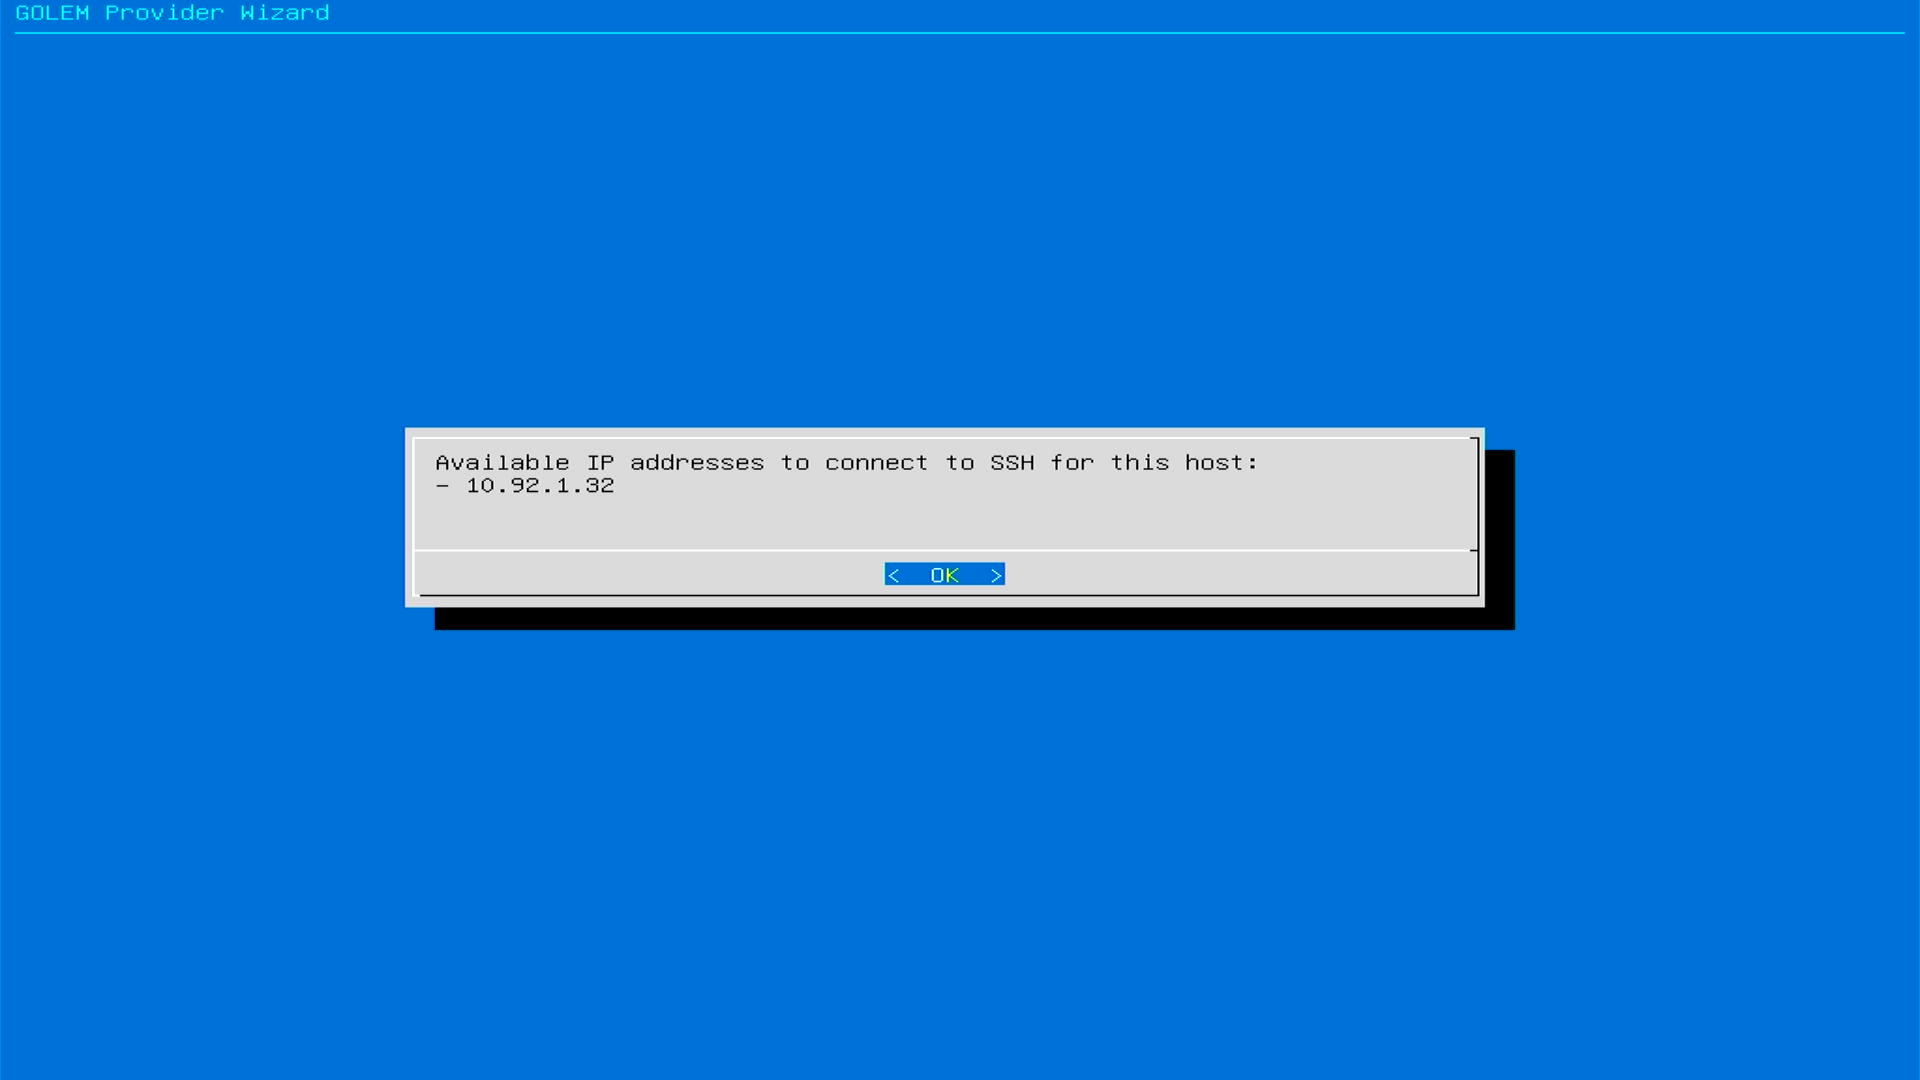
- Network Configuration: Write down the IP address shown (needed for SSH).
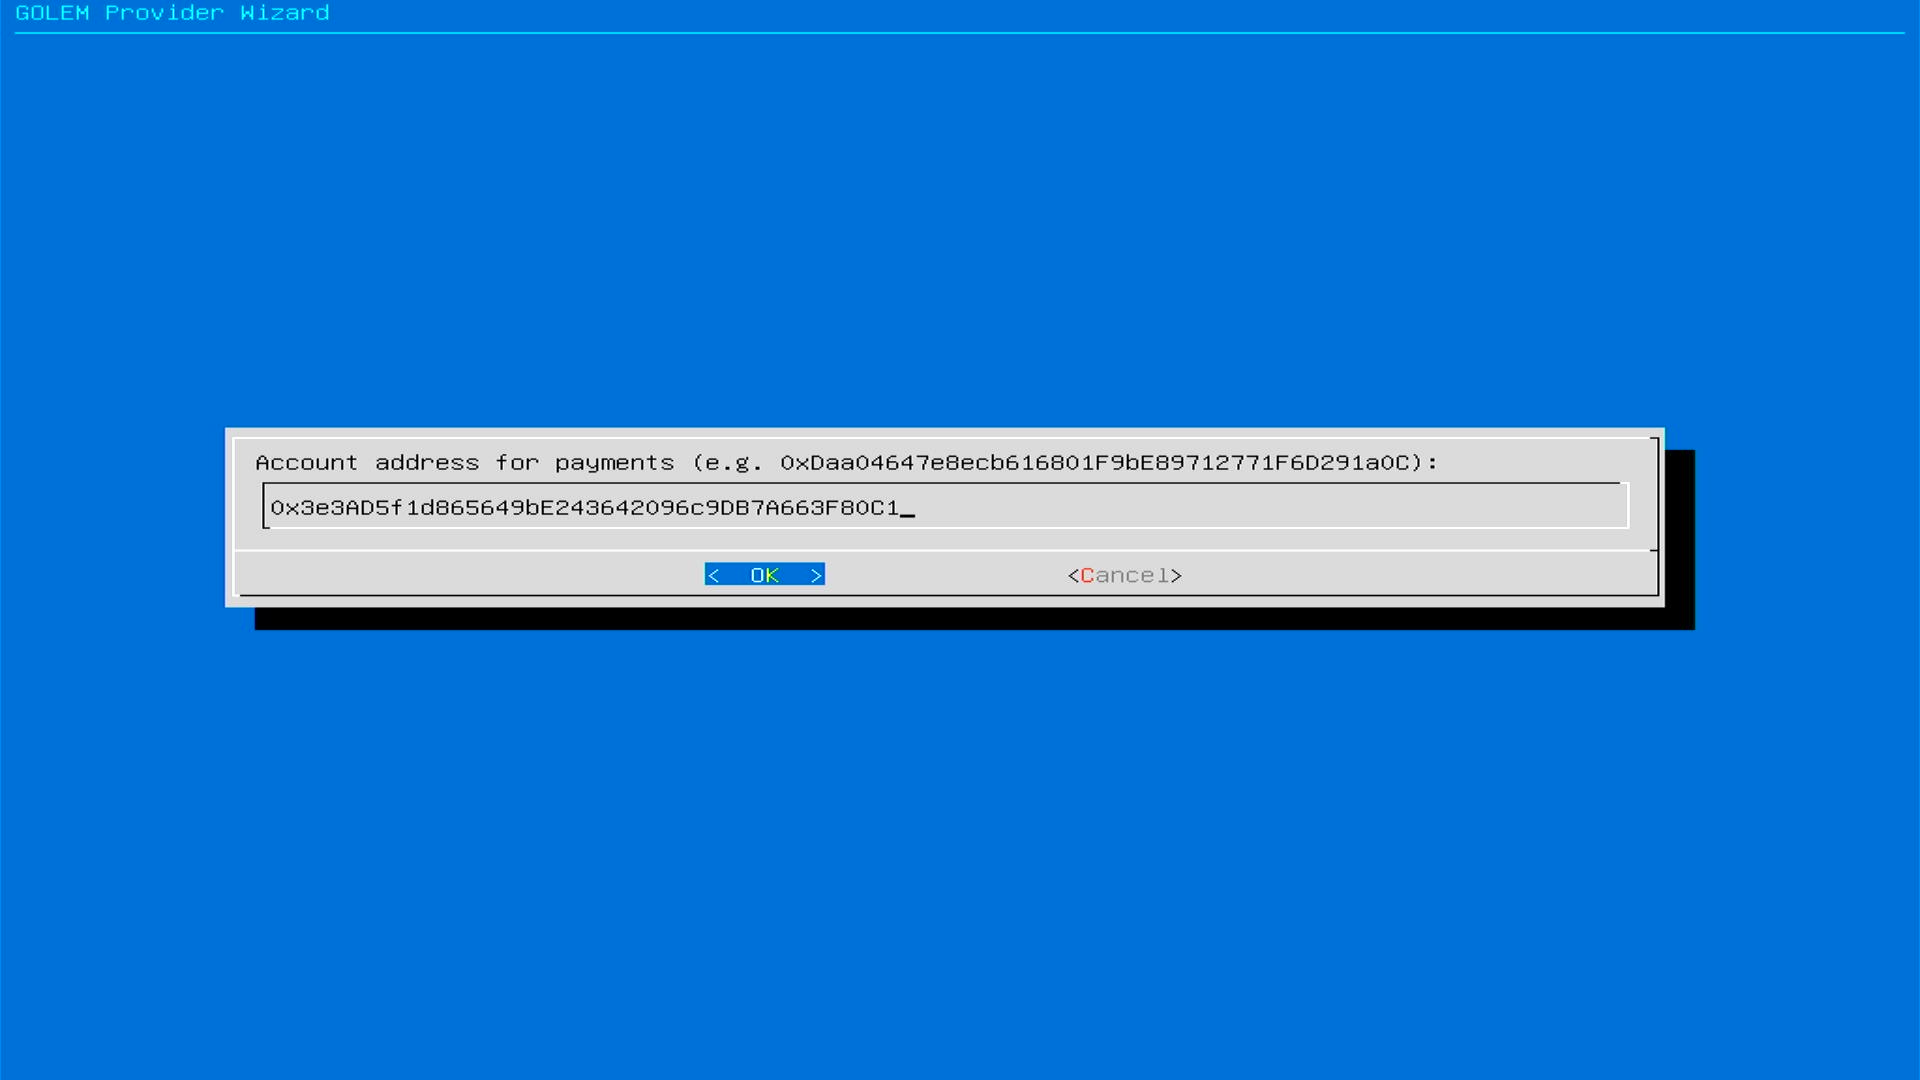
- Ethereum Wallet: Enter your wallet address to receive your GLM earnings.
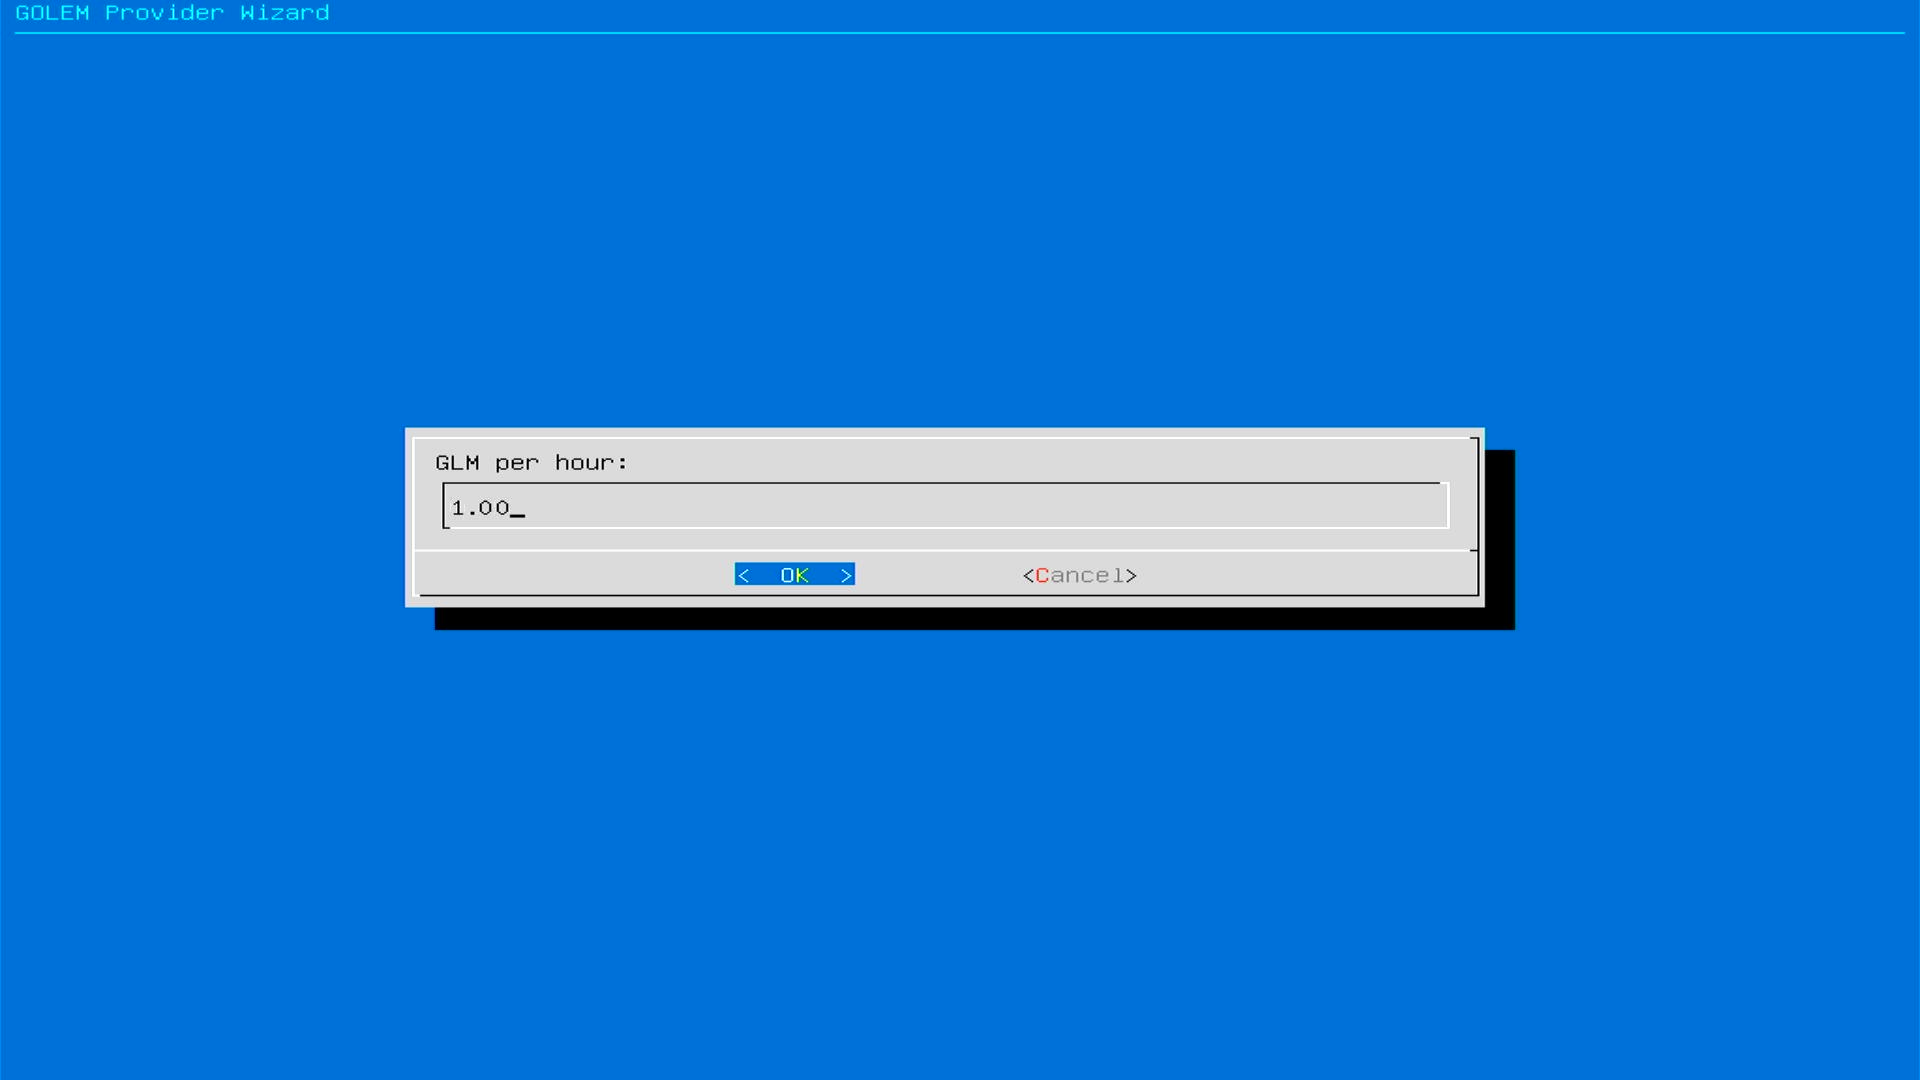
- Set Price: Enter your desired hourly rate in GLM.
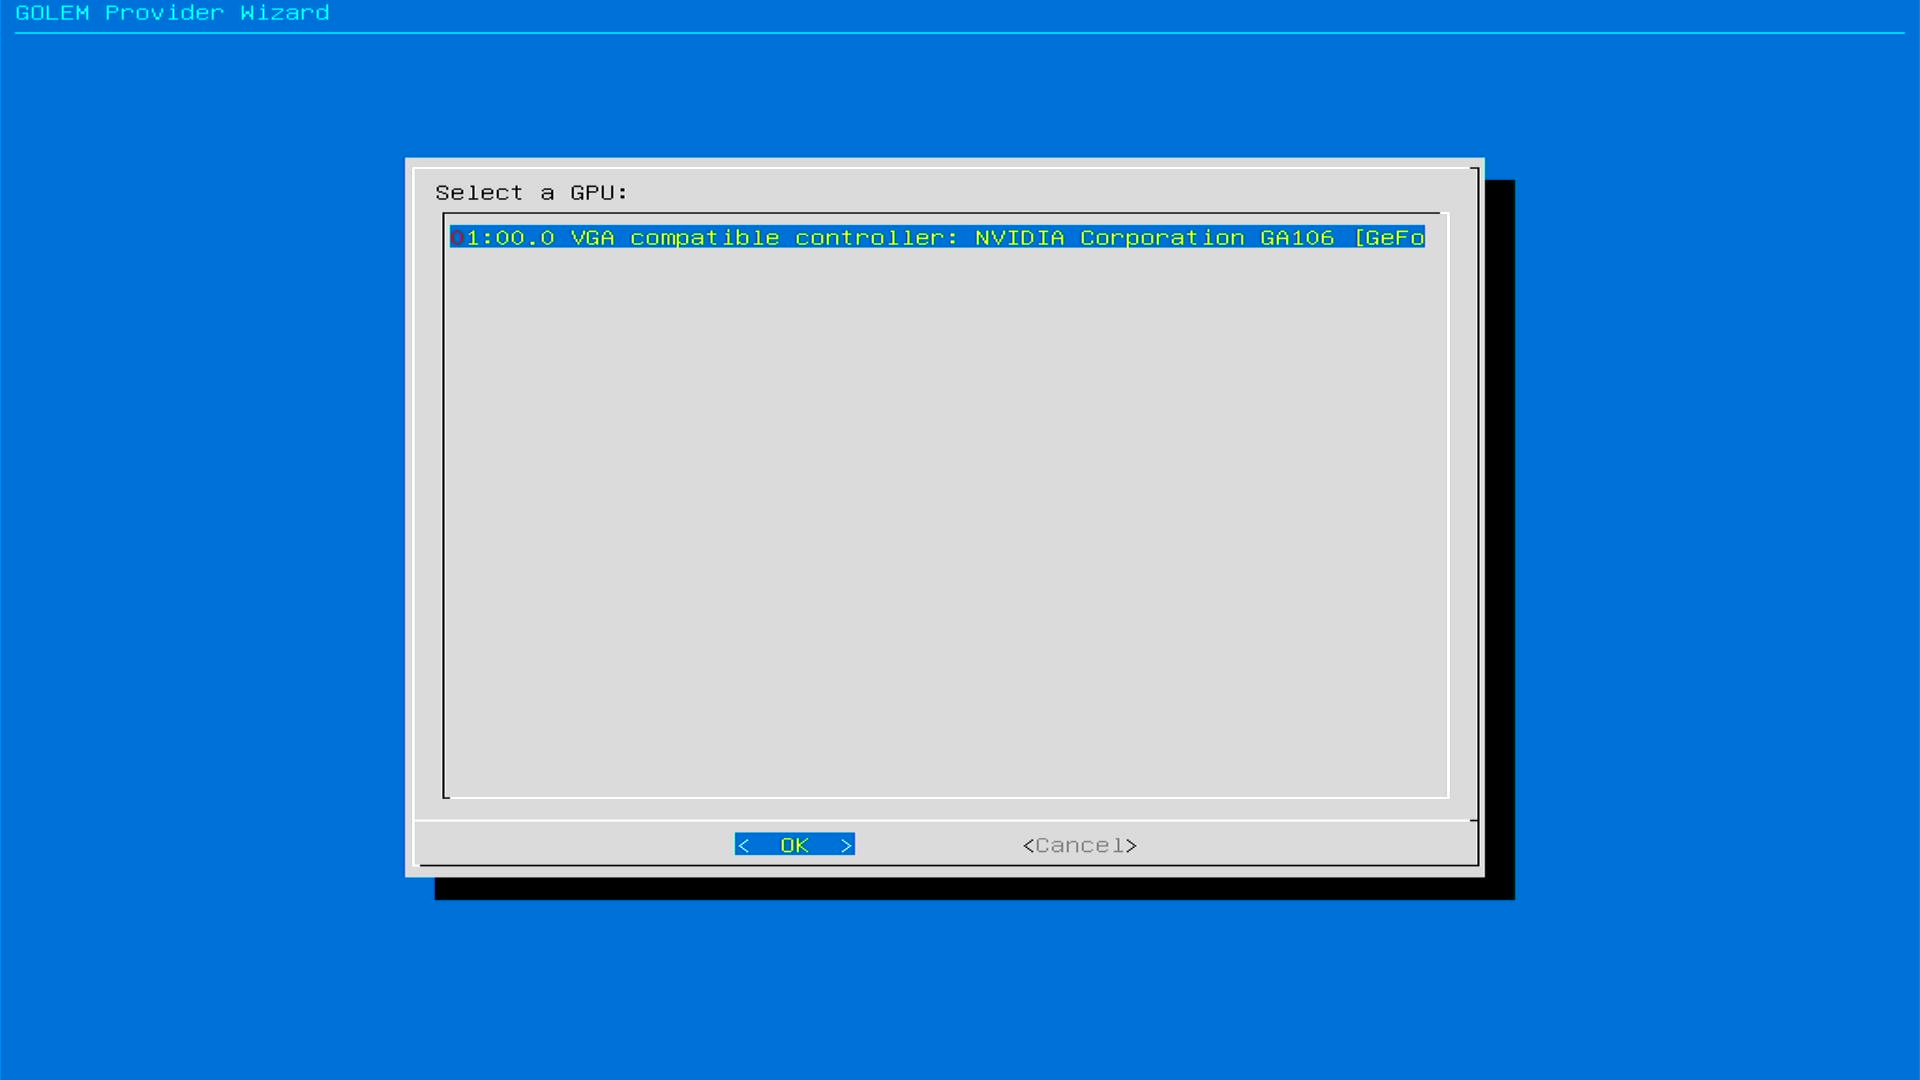
- GPU Selection: The Golem GPU Provider supports multiple graphics cards. If your computer has several GPUs, you can select one or more cards at this step. Choose the GPUs you want Golem GPU Provider to manage by pressing the spacebar.
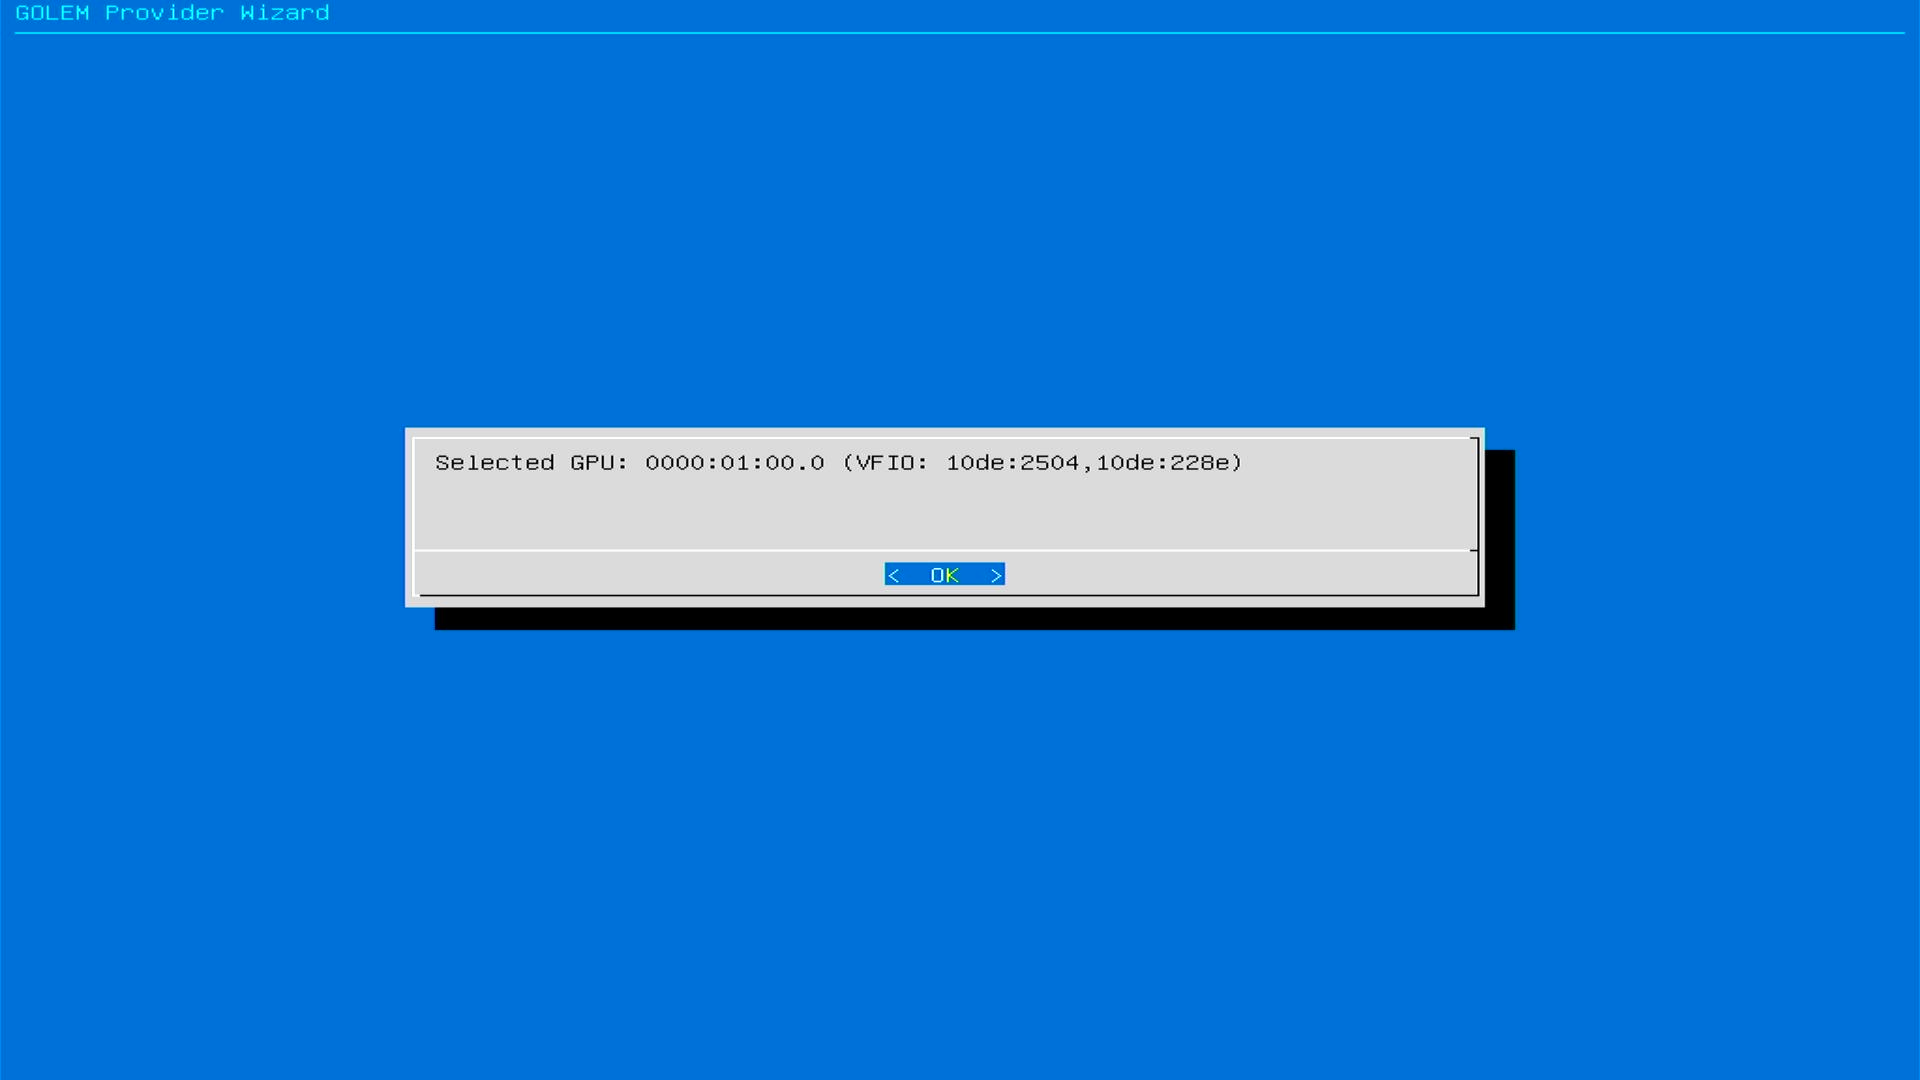
- Confirmation: Click "OK" to finalize.
- Node name (optional): Enter a name for your provider. It will be visible within the network and on Golem Network Stats. You can skip this step, and a name will be generated automatically.
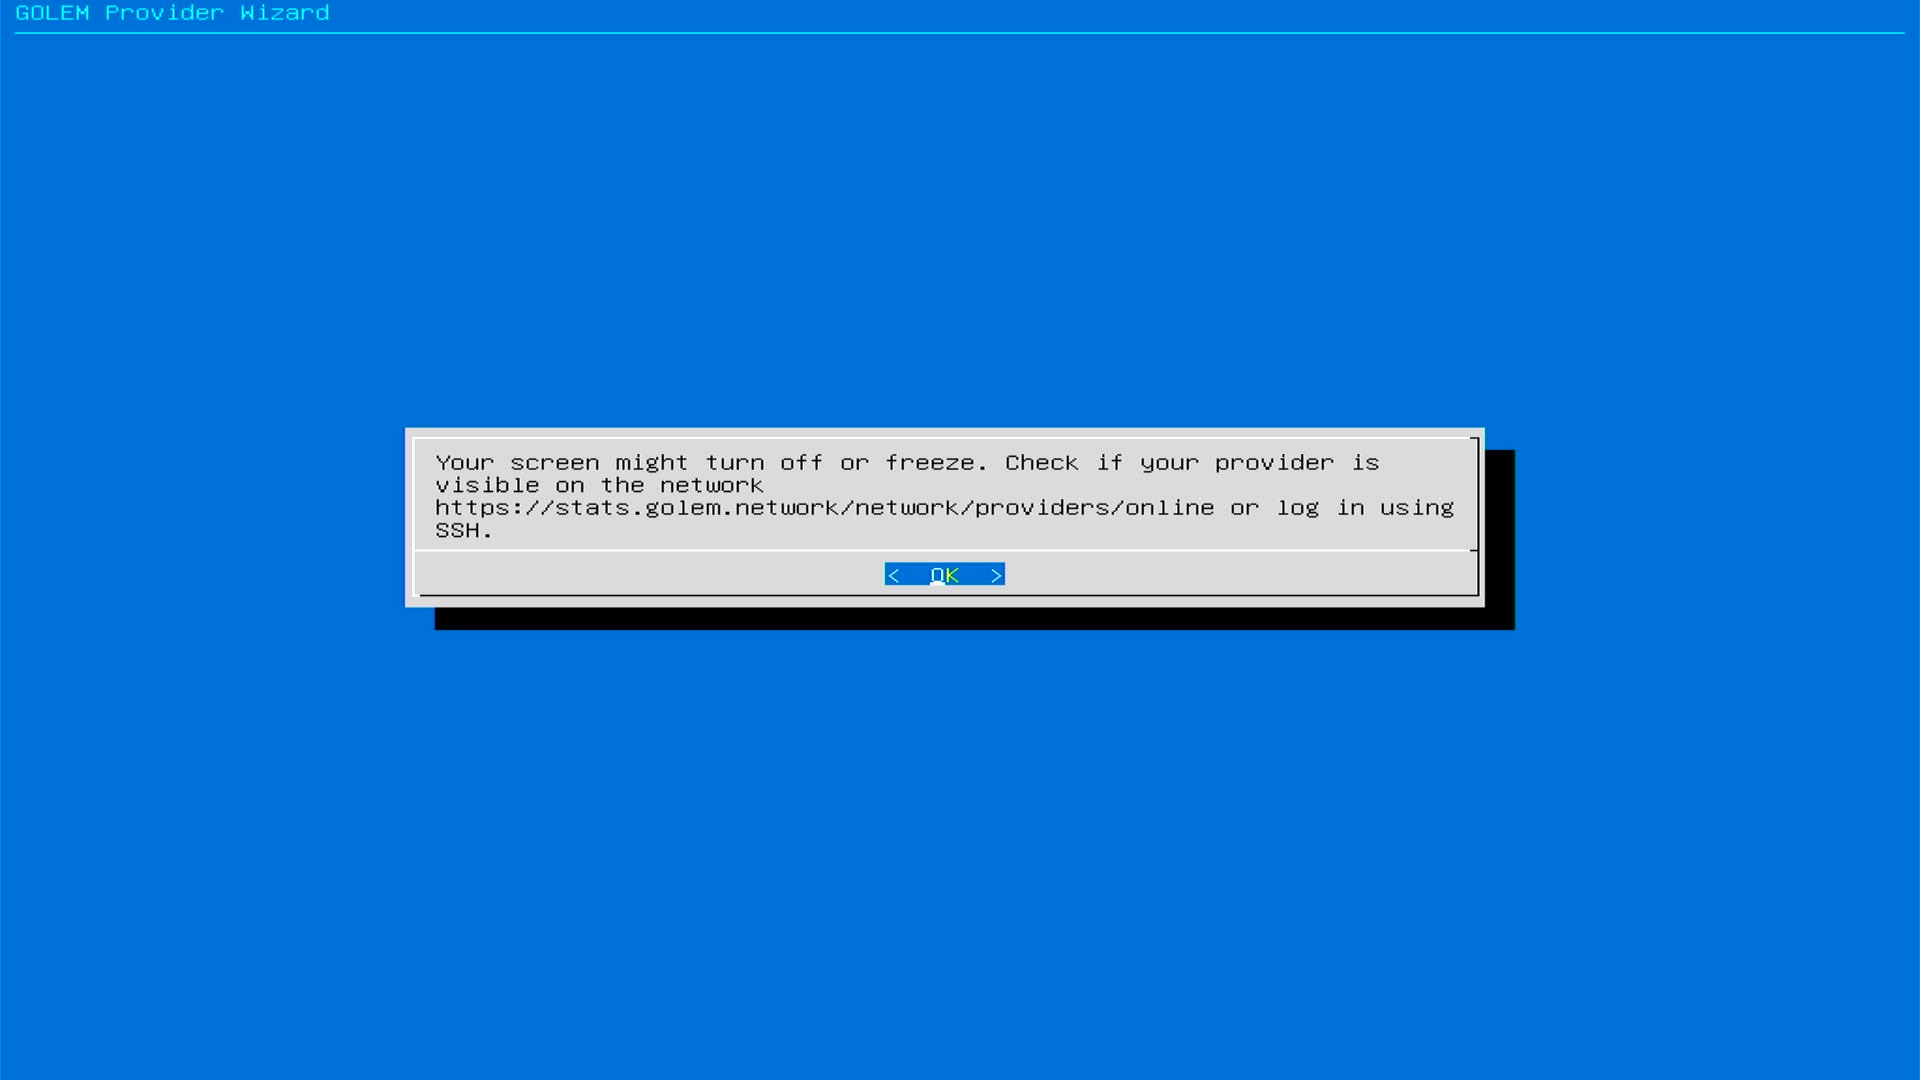
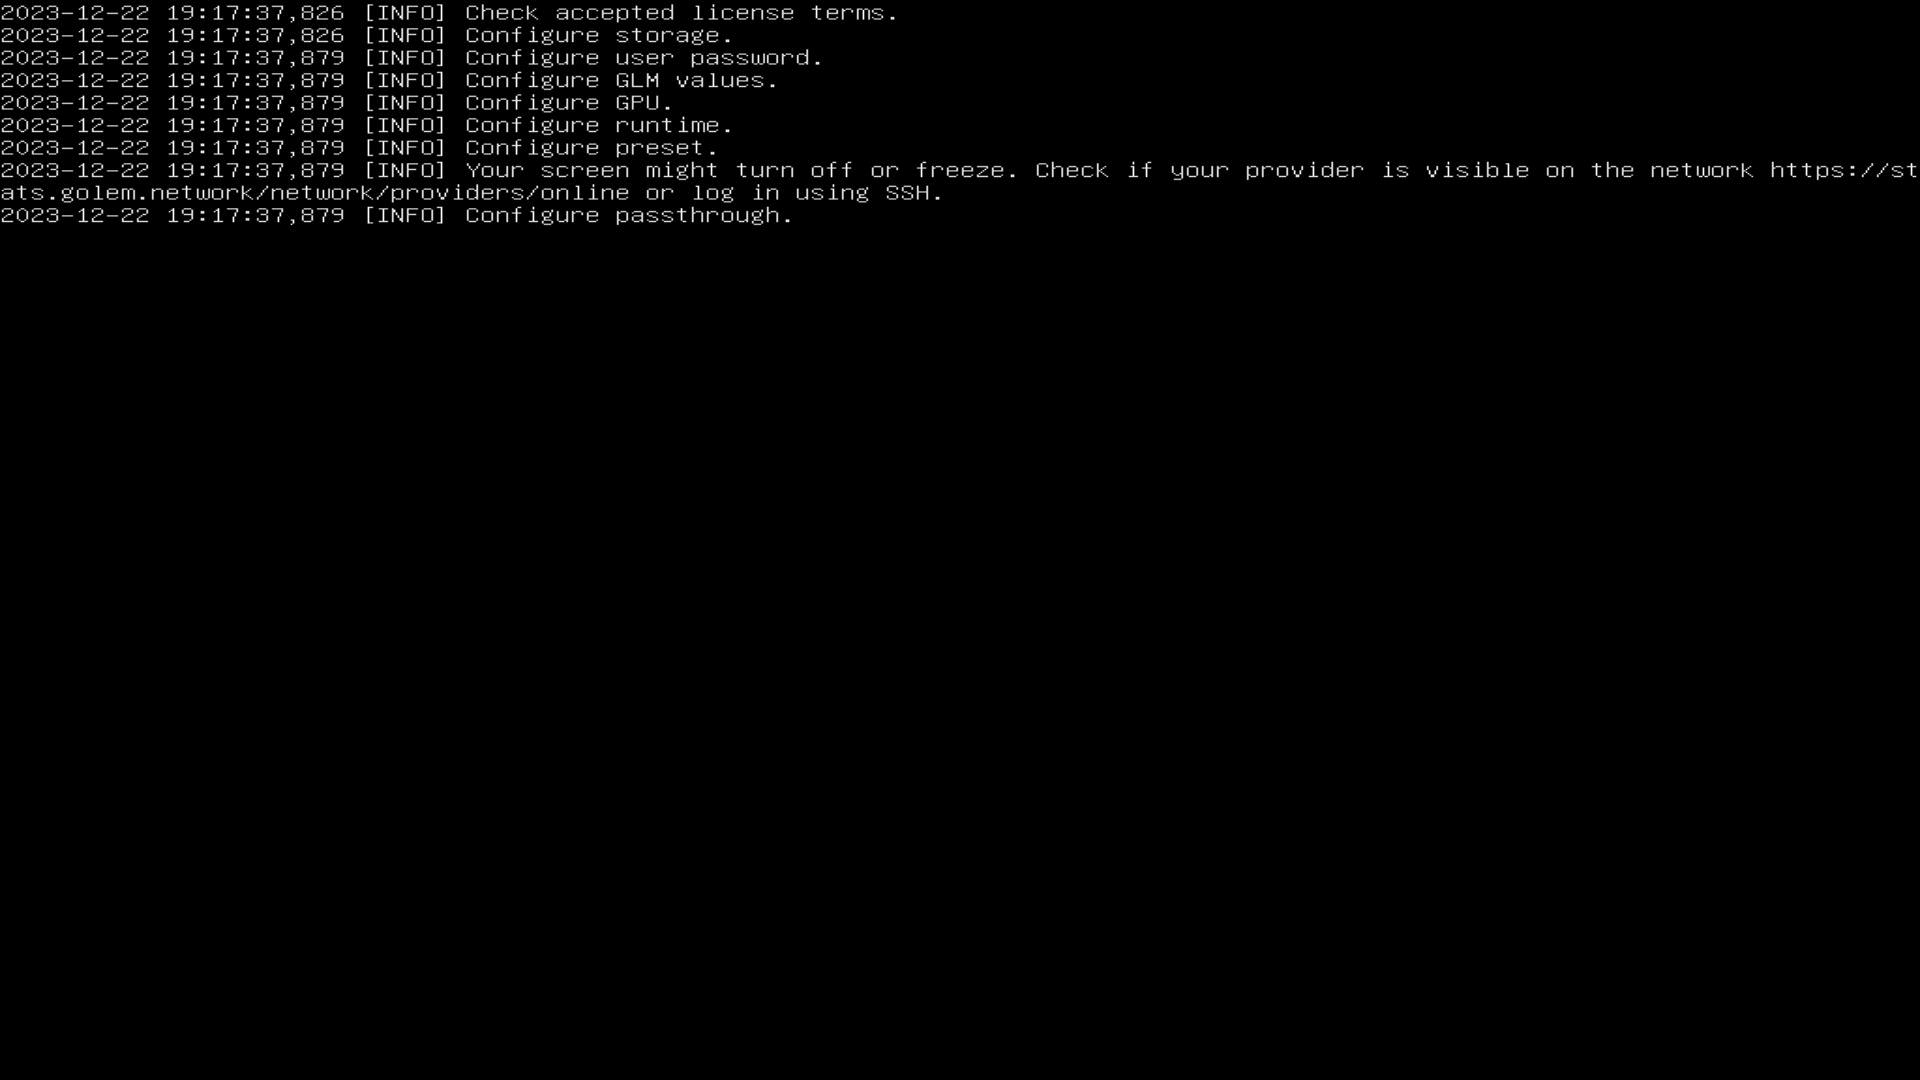
 Your computer will restart, and the provider will start running (your monitor might go blank, this is normal).
5. Monitoring Your GPU Provider
Your provider is now active on the Golem Network! To check its status and earnings, visit the Golem Network Stats page: https://stats.golem.network/network/providers/online
Search for your provider using its randomly generated name ("Node name" in the configuration summary).
Frequently Asked Questions
How to connect to the provider?
Connect via SSH:
ssh golem@<provider_ip_address>Use the IP from step 6 and the password from step 5.
How to check the provider's name?
- Connect to your provider via SSH.
- Run
golemsp settings show. - Look for the "node name" - that's your provider's name on the Golem Network Stats page.
How to change the provider's name?
Connect to your provider via SSH.
Run:
golemsp settings set --node-name '<new_node_name>'
How to change the wallet address?
Connect to your provider via SSH.
Run:
golemsp settings set --account <new_wallet_address>
How to change the hourly rate?
Connect to your provider via SSH.
Convert your desired hourly rate to a rate per second (divide by 3600). For example, for 0.25 GLM per hour:
0.25 GLM/h / 3600 seconds/hour = 0.00006944444444444444 GLM per secondRun:
ya-provider preset update --name vm-nvidia --price duration=0.00006944444444444444 --no-interactiveActivate the changes:
ya-provider preset activate vm-nvidia
How to download logs from the provider?
Open your local terminal (not via SSH).
Run:
scp golem@<your_provider's_ip>:/home/golem/golemwz.log golemwz.log
scp golem@<your_provider's_ip>:/home/golem/.local/share/yagna/yagna_rCURRENT.log yagna_rCURRENT.log
Enter your SSH password when asked. The logs will be downloaded to your current directory.
How do I check the provider’s status?
Connect to your provider via SSH.
Run:
golemsp statusEnter your SSH password when asked. From the displayed table, you can view the provider’s status, network affiliation, and payments.
Need more help? Join us on Discord!
Was this helpful?