Getting started
There are multiple ways to start interacting with Golem-Workers. Below are two of the most common ways to start it.
- The dockerized one uses
docker composeto quickly start up needed components. - The manual one lets you start the needed components manually after you get them from the
pypipackage repository.
Docker compose
Docker example will take care of installation, proper processes setup (golem-workers web server and golem-node service), and their basic configuration.
You might need to customize the docker files should you want to play with the Golem-Workers beyond the examples from this documentation.
This doesn't require a Python environment whatsoever. It is enough to have docker and git
1. Run the Docker
Make sure that Docker is running on your machine and that your current user has access to it.
The instructions below have been tested with Docker Compose V2.
2. Clone the repository
Create a folder on your computer, navigate into it from the terminal, and then clone the repository using the command:
git clone https://github.com/golemfactory/golem-workers.git
3. Start the components
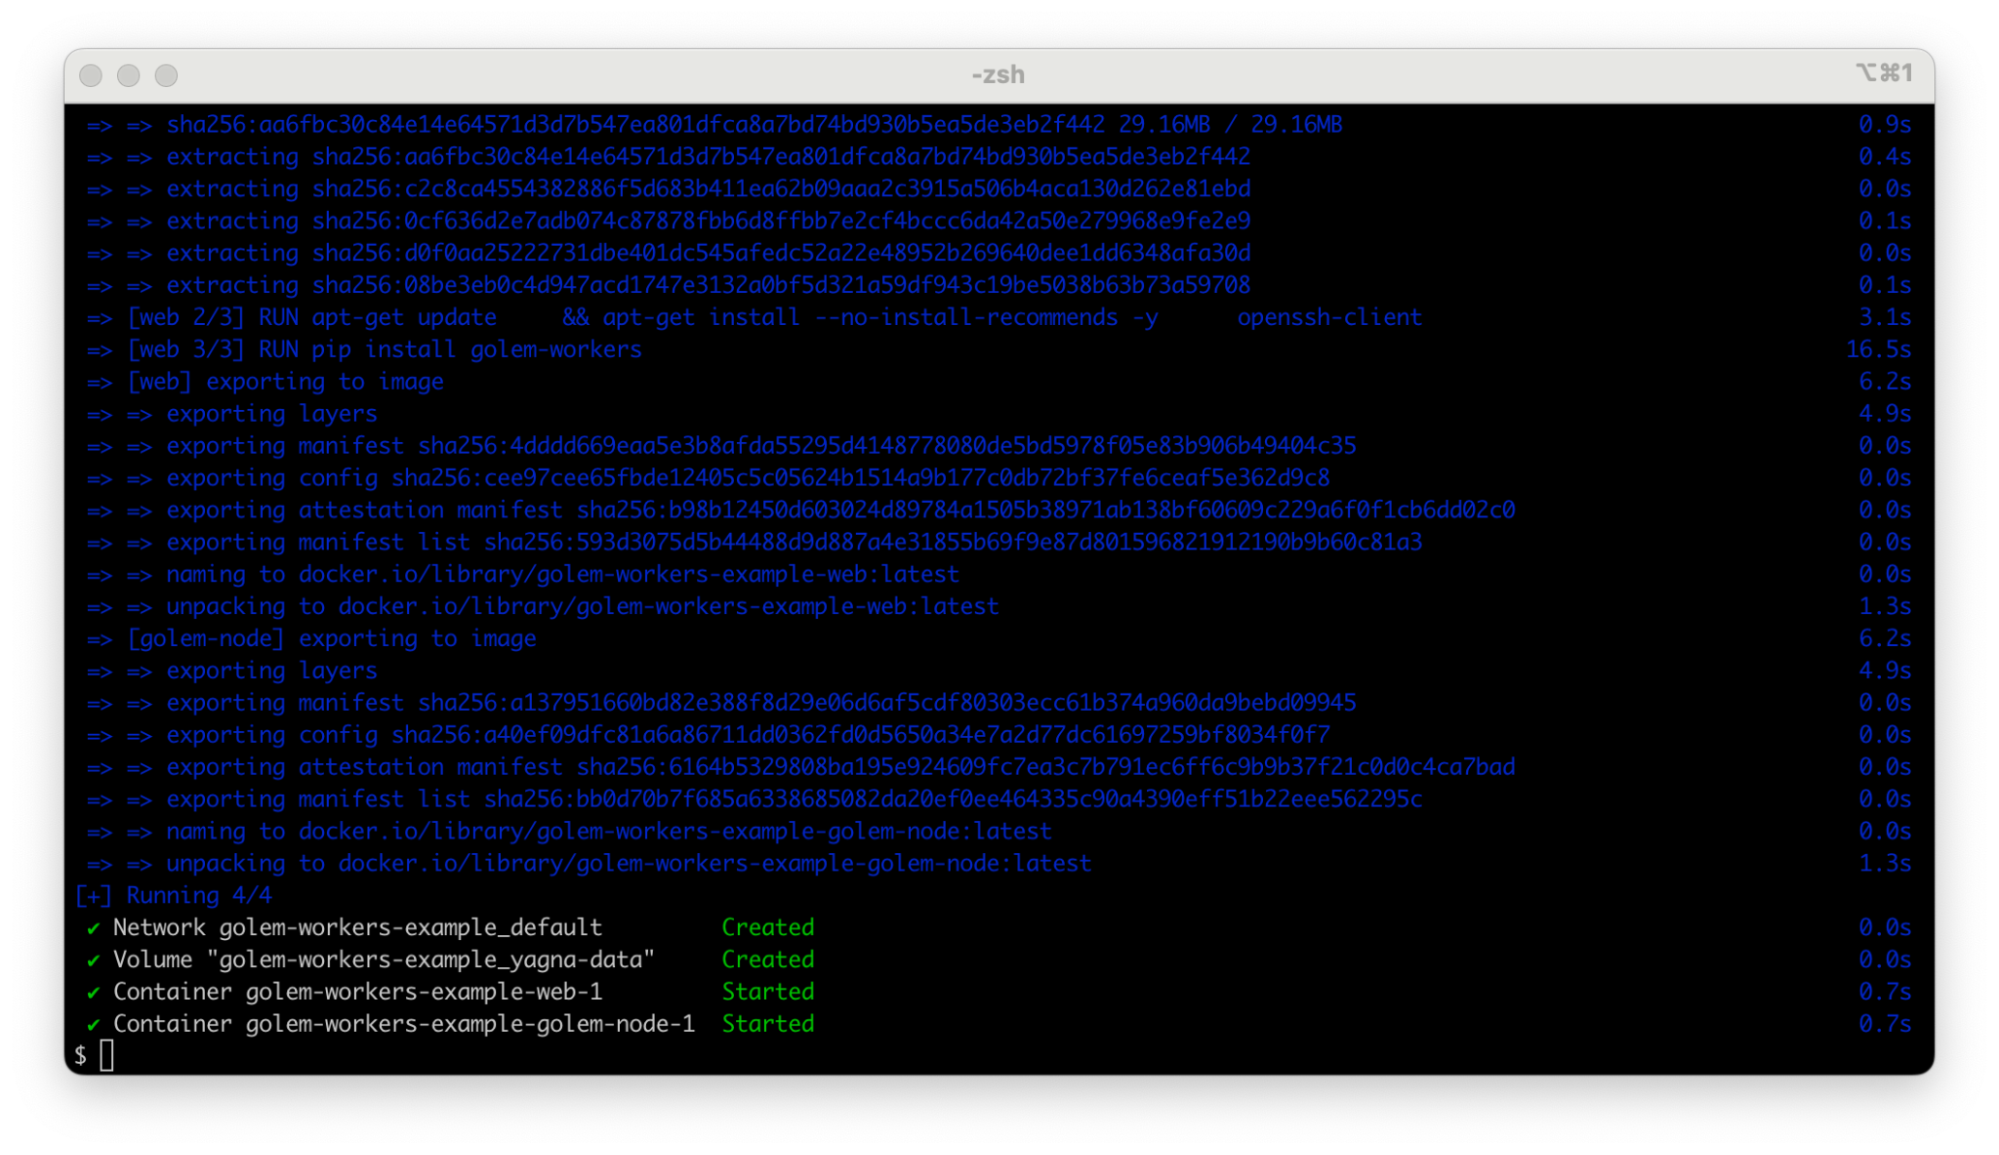
Build and start the docker-compose project. Go to the examples/docker folder of the cloned repo, and run the command:
docker compose up -d --build
Note: the docker-compose.yaml file defines which ports to forward from the docker container to your machine. For the vanilla Hello service and Stable Diffusion examples, it is enough for forward 8080 and 8081 ports.
If you want to communicate with your workers via different ports you have to update the docker-compose.yaml to reflect that. For each port, you want to be visible outside of docker add - <port outside docker>:<port inside docker> to the ports section of the web service definition.
4. Add funds
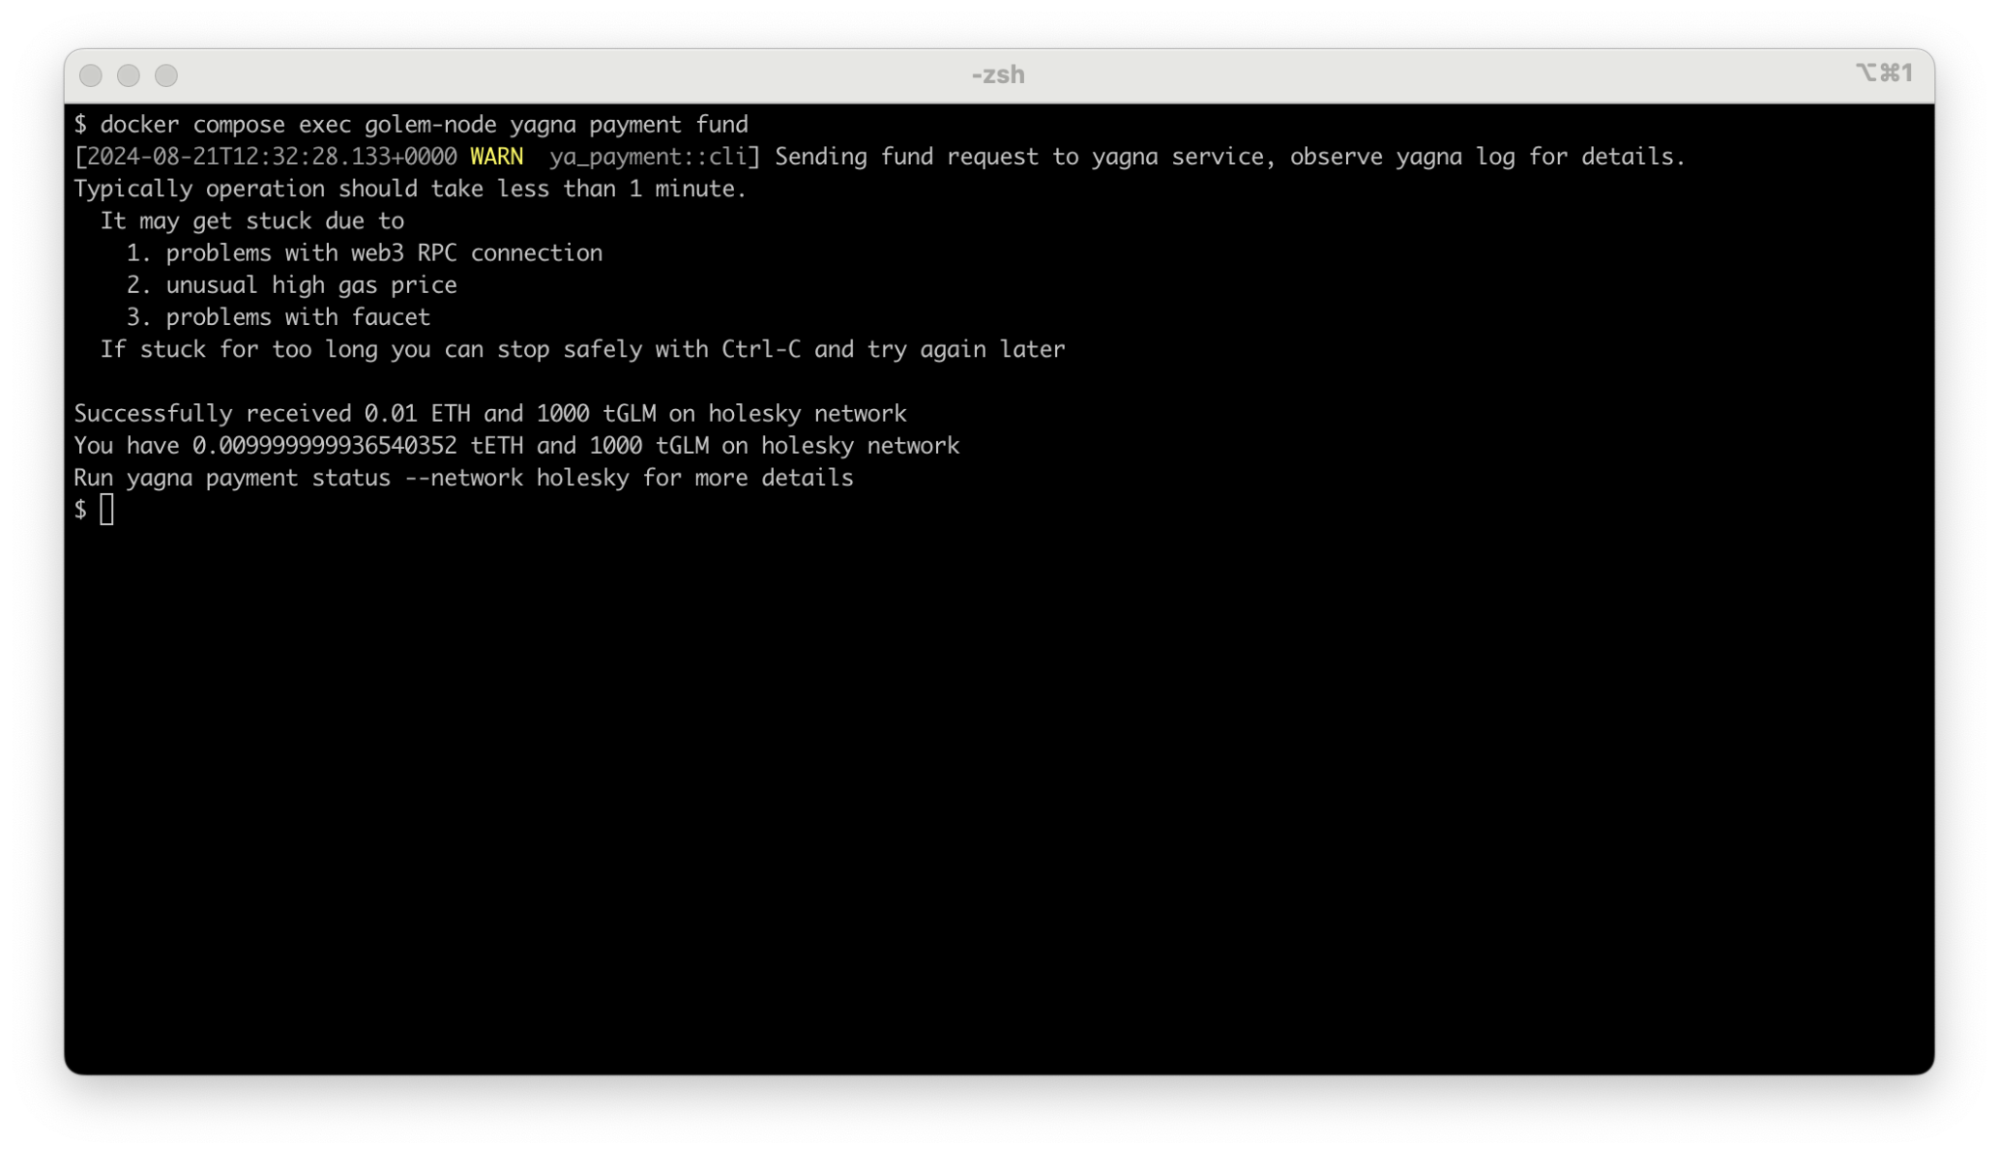
Prepare some funds for Golem's free test network. Note that this step is needed mostly once per yagna-data volume. Run the command:
docker compose exec golem-node yagna payment fund
Verify if getting the funds was successful with:
docker compose exec golem-node yagna payment statusThe output should show a non-zero amount of tGLM and tETH in the total amount and gas columns. Rerun the fund command if it doesn't.
Golem-Workers is up!
That's it! Jump to the wrapup section to proceed.
Manual
Manual installation will require you to set up the necessary components, including the golem-workers web server and golem-node service, along with their configuration. You’ll need to ensure the proper installation and configuration of these services on your server environment.
This way is for you if you want to have more control over the Golem-Workers components. You will be downloading the necessary software from PyPi - the Python package repository. It is recommended to use a clean virtual environment.
1. Install Golem-Workers package
Install golem-workers using this command (it is recommended in a clean virtual environment)
pip install golem-workersThis step should also install a yagna binary needed to communicate with the Golem Network (golem-node package).
2. Start the golem-node service
Start the golem-node service. Run the command:
yagna service runThis will occupy your terminal session, so open a new one to continue (and activate the virtual environment there too)
3. Add funds
Prepare some funds for Golem's free test network. Note that this step is needed mostly once per golem-node installation. Run the command:
yagna payment fund4. Create an application token
Create a new golem-node application token using:
yagna app-key create <your-token-name>And put the generated app-key into the .env file in the current directory:
echo 'YAGNA_APPKEY=<your-application-token>' >> .envThis will allow golem-node to know your golem-workers instance.
5. Use Golem Reputation
Golem Reputation service (prioritizing nodes with a record of good behavior) requires putting a new entry in the .env file in the current directory:
echo 'GLOBAL_CONTEXTS=["golem_reputation.ReputationService"]' >> .envNote that, the examples in this documentation require the above to work properly. You can skip this step if you don't use Golem Reputation in your jsons.
6. Start Golem-Workers
Start golem-workers web server instance using (uvicorn is a general-purpose Python web server implementation):
uvicorn golem_workers.entrypoints.web.main:appGolem-Workers is up!
That's it! Now, you can interact with Golem-Workers using the Web API at http://localhost:8000 You can find the OpenAPI specification at http://localhost:8000/docs (or at http://localhost:8000/redoc if you prefer the redoc format).
Note that due to decentralized fashion, golem-node needs a few moments to gather information from the Golem Network, during that time, the amount of returned proposals (aka available nodes) can be impacted.
The next steps:
- Checkout the Hello service example to see an example of running a simple service on the Golem Network testnet
- Checkout the advanced Stable Diffusion example to see an example of running
automatic1111on Golem Network GPU nodes - Play with OpenAPI specification (also available directly at http://localhost:8000/docs) - it hosts plenty illustrative examples, and formally describes the schemas
Was this helpful?